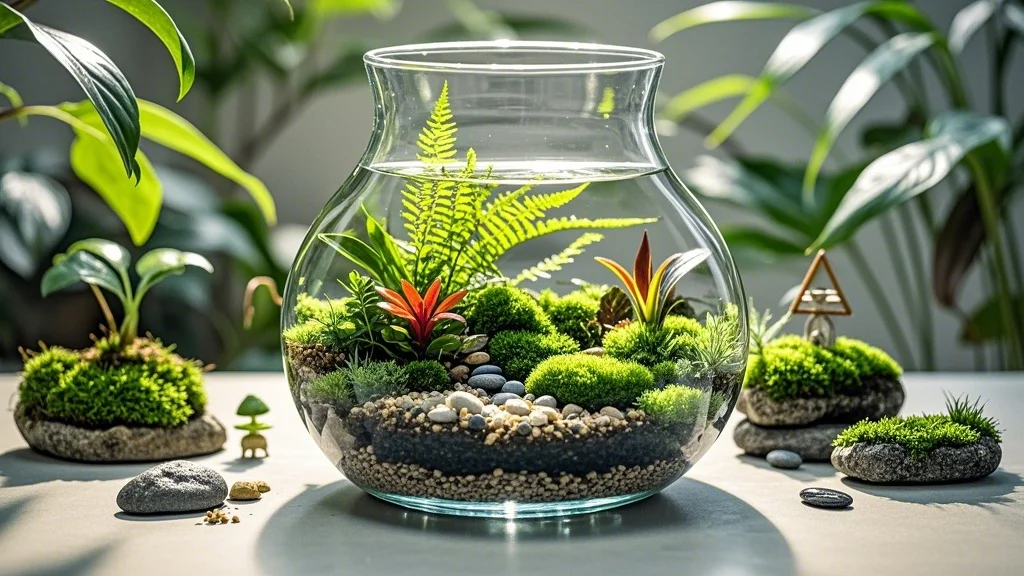
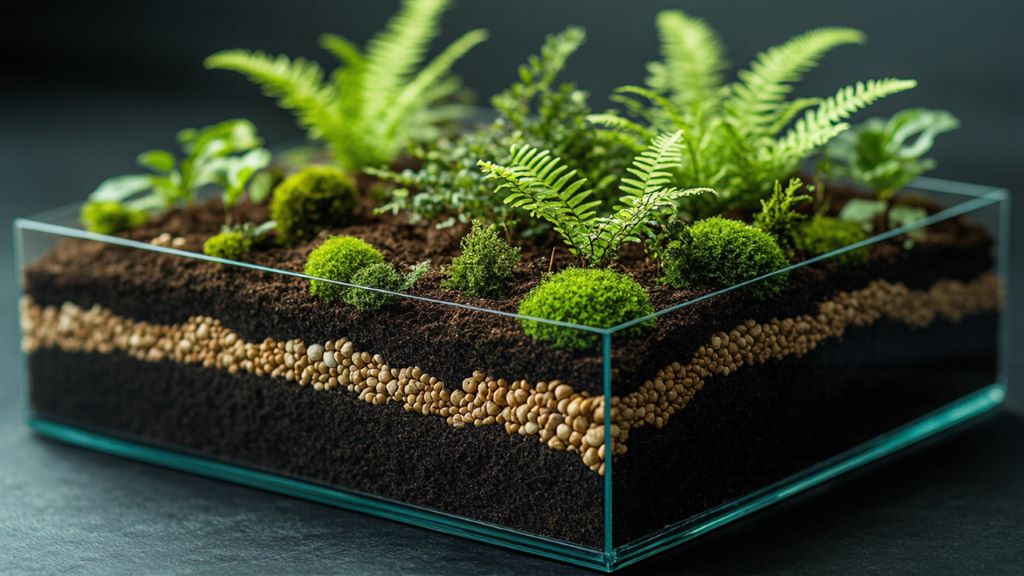
Mastering the art of styling windowsill gardens is a valuable skill for urban plant enthusiasts. This technique not only enhances the aesthetic appeal of your living space but also optimizes plant health by maximizing available light. While it may seem challenging at first, with the right guidance, you can create stunning windowsill displays that are both beautiful and functional. By the end of this guide, you’ll have the knowledge to transform your ordinary windowsills into eye-catching, thriving plant havens.
Contents
Tools and Materials
Essential Tools:
- Measuring tape
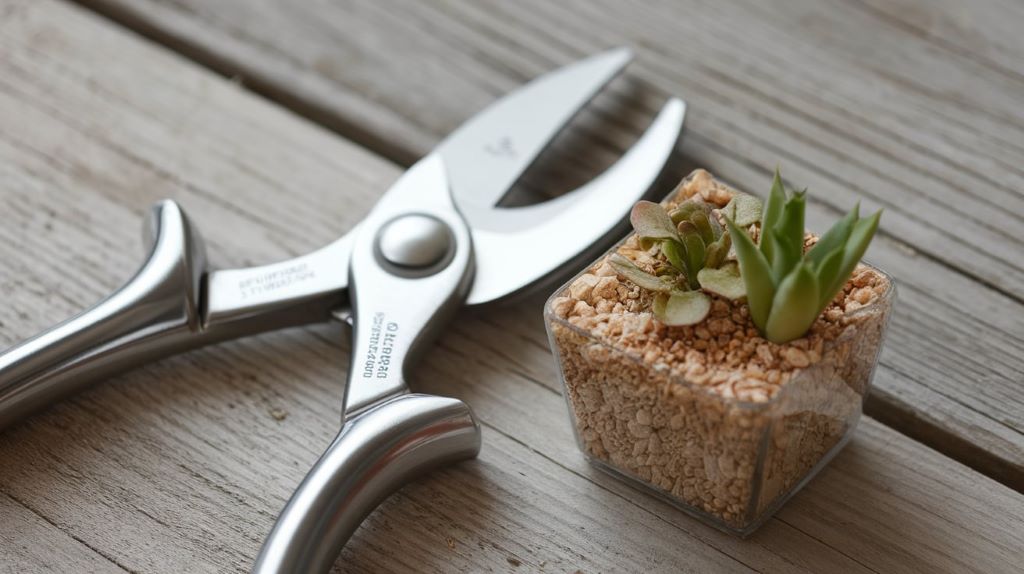
- Pruning shears
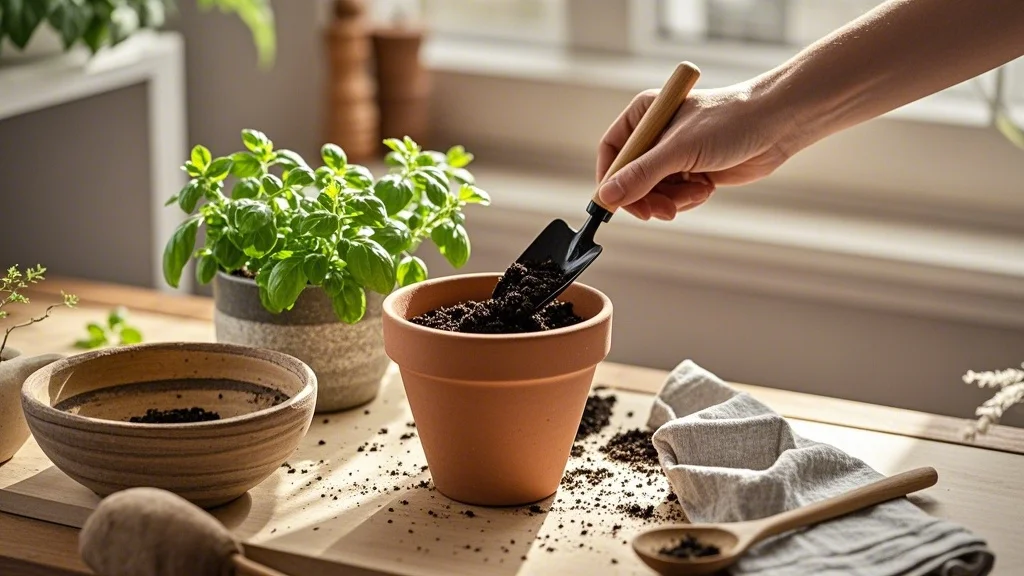
- Small trowel
- Watering can with a narrow spout
- Spray bottle for misting
Essential Materials:
- Various sizes of decorative planters
- High-quality potting soil
- Pebbles or activated charcoal for drainage
- Plant saucers or trays
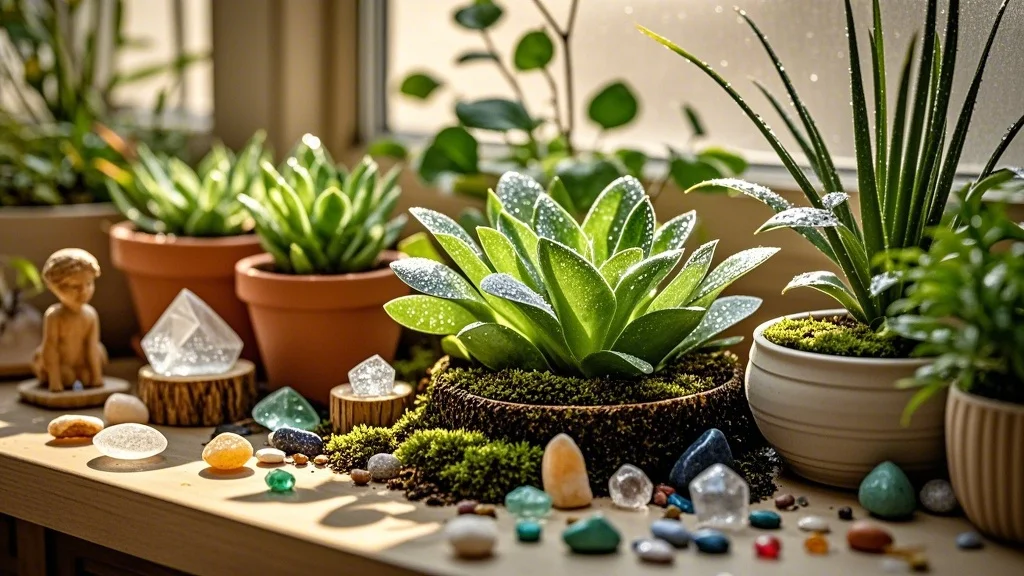
- Decorative elements (e.g., small figurines, crystals, or driftwood)
Optional Alternatives:
- Self-watering planters
- Hanging planters for cascading plants
- Macramé plant hangers for added texture
3. Preparation
Time and Space Requirements:
- Allow 2-3 hours for initial setup
- Ensure your windowsill is at least 6 inches deep and can support the weight of your plants
Safety Precautions:
- Use gloves when handling soil or sharp tools
- Ensure planters are securely placed to prevent falling
- Keep toxic plants out of reach of children and pets
Plant Preparation:
- Inspect plants for pests or diseases
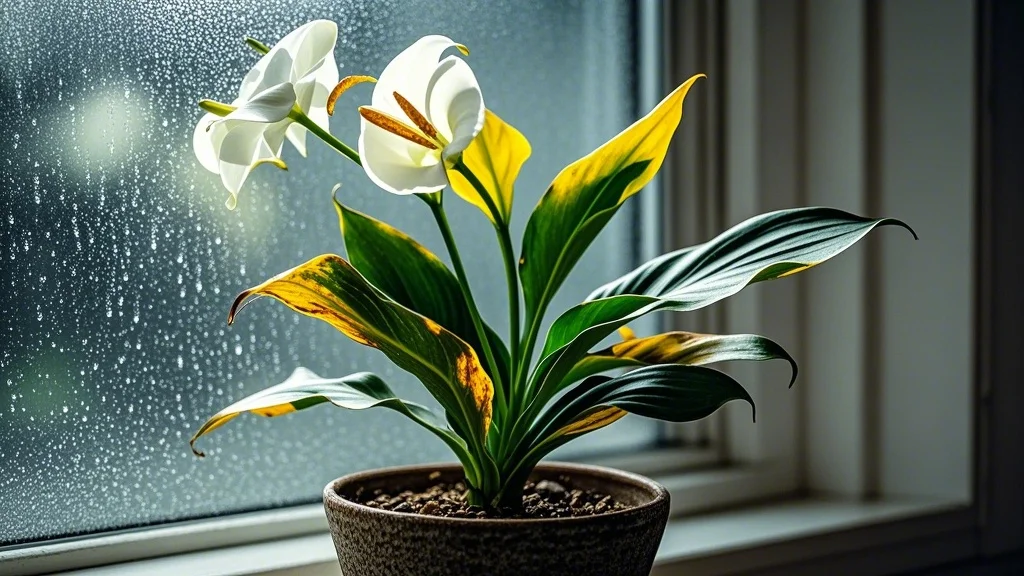
- Trim any dead or yellowing leaves
- Water plants thoroughly 24 hours before rearranging
Step-by-Step Guide
Step 1: Assess Your Window
- Measure the length and depth of your windowsill
- Determine the light exposure (north, south, east, or west-facing)
- Note any drafts or temperature fluctuations
Step 2: Choose Your Plants
- Select plants with similar light and water requirements
- Mix different textures and heights for visual interest
- Consider the following combination:
- Tall focal point (e.g., snake plant or small palm)
- Medium-sized leafy plants (e.g., pothos or peperomia)
- Trailing plants for edges (e.g., string of pearls or ivy)
Step 3: Create a Color Scheme
- Choose a cohesive color palette for plants and pots
- Opt for complementary or monochromatic schemes
- Example: Green foliage with white, terracotta, and brass pots
Step 4: Arrange Your Plants
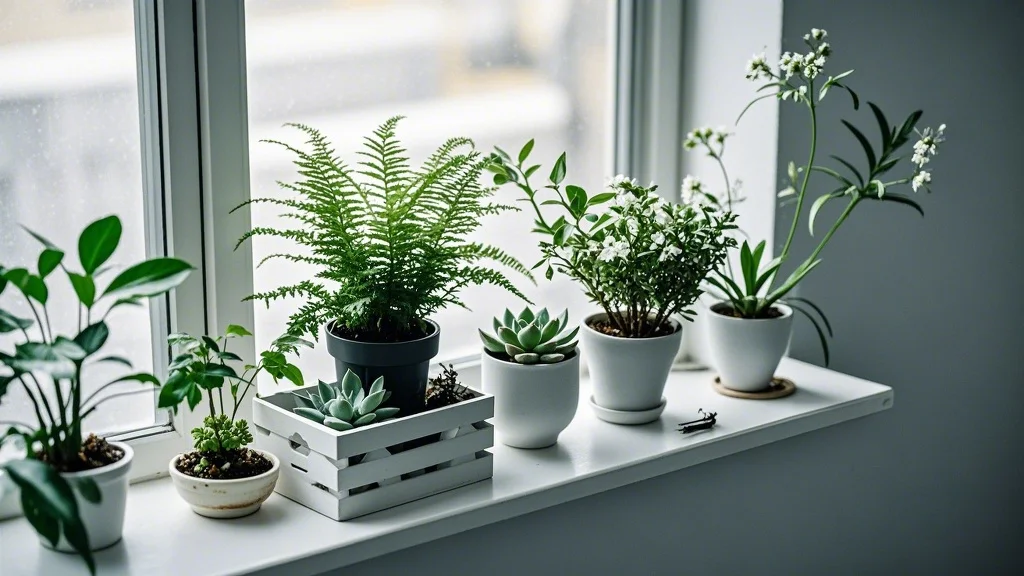
- Place the tallest plant slightly off-center as a focal point
- Flank with medium-sized plants in descending height order
- Position trailing plants at the edges to soften the display
- Use the “thriller, filler, spiller” technique:
- Thriller: Tall, eye-catching plant
- Filler: Bushy, medium-sized plants
- Spiller: Trailing plants to cascade over the edge
Step 5: Add Decorative Elements
- Incorporate small decorative items between plants
- Use pebbles or moss as top dressing for a polished look
- Hang a small mirror to reflect light and create depth
Troubleshooting and Adjustments
Common Challenges:
- Uneven growth due to light distribution
- Overcrowding leading to poor air circulation
- Water damage to windowsill
Solutions and Adjustments:
- Rotate plants regularly for even growth
- Prune and thin out plants as needed
- Use waterproof trays or saucers under all planters
Variations for Different Plant Types:
- Succulents: Use shallow, well-draining containers and minimal decor
- Tropical plants: Group together and use pebble trays for humidity
- Herbs: Incorporate small pots that can be easily moved for harvesting
Aftercare
Immediate Care:
- Water plants lightly after arranging to help them settle
- Mist foliage to reduce transplant shock
- Avoid fertilizing for 2-4 weeks after rearranging
Long-term Maintenance:
- Establish a regular watering and misting schedule
- Rotate plants 1/4 turn weekly for even growth
- Prune and groom plants monthly to maintain shape
Signs of Success:
- Consistent new growth on all plants
- Vibrant, healthy foliage color
- Balanced, visually pleasing arrangement that enhances your space
Frequently Asked Questions (FAQ)
-
Q: How often should I restyle my windowsill garden?
A: Aim to refresh your arrangement every 3-4 months or when seasonal changes affect light conditions.
-
Q: Can I mix plants with different water needs in the same display?
A: It’s best to group plants with similar water requirements to prevent over or under-watering issues.
-
Q: How do I prevent my plants from getting leggy on the windowsill?
A: Rotate plants regularly, prune as needed, and ensure they’re receiving adequate light. Consider supplementing with grow lights if necessary.
-
Q: What’s the best way to incorporate seasonal decor into my windowsill garden?
A: Use small, easily changeable decorative elements like miniature pumpkins for fall or pastel eggs for spring, without disturbing the plants.
-
Q: How can I create depth in a narrow windowsill?
A: Use plant stands or risers of varying heights, and incorporate hanging elements to create vertical interest.
Conclusion
Styling a windowsill garden is an art that combines design principles with plant care knowledge. By following these steps—assessing your space, choosing complementary plants, creating a cohesive color scheme, arranging with the “thriller, filler, spiller” technique, and adding thoughtful decorative elements—you can transform your windowsills into stunning displays. Remember to maintain your creation with regular care and occasional restyling to keep it fresh and thriving. With practice, you’ll develop an eye for balance and composition, creating windowsill gardens that are not just beautiful, but also healthy and vibrant. Don’t be afraid to experiment and let your personal style shine through in your botanical creations.

