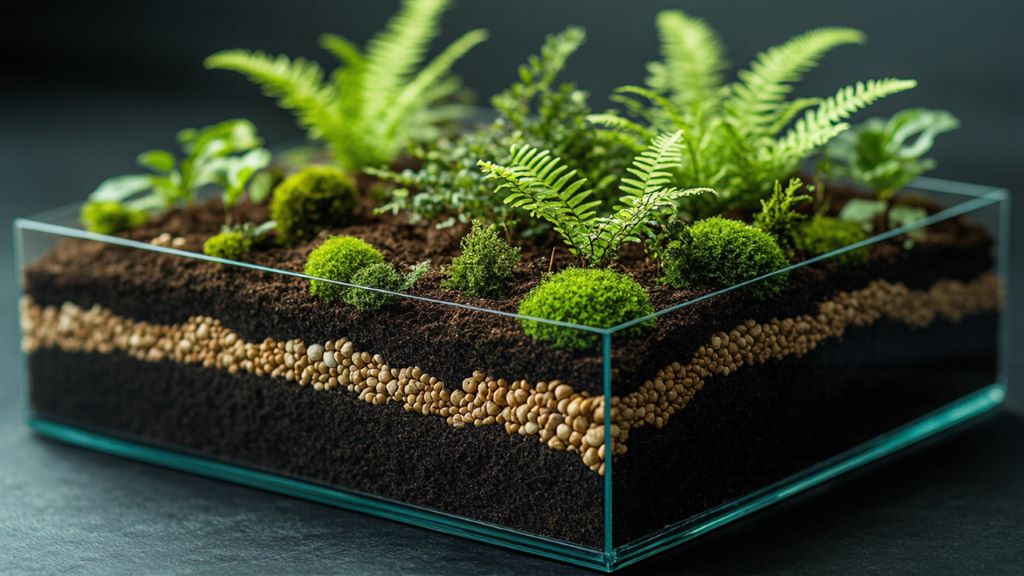
For intermediate plant enthusiasts and rare plant propagators, the challenge of rooting difficult cuttings can be both frustrating and rewarding. Enter sphagnum moss propagation – a game-changing technique that can turn even the most stubborn cuttings into thriving new plants. This method harnesses the unique properties of sphagnum moss to create an ideal environment for root development, especially for plants that struggle with traditional propagation methods.
Contents
Understanding Sphagnum Moss
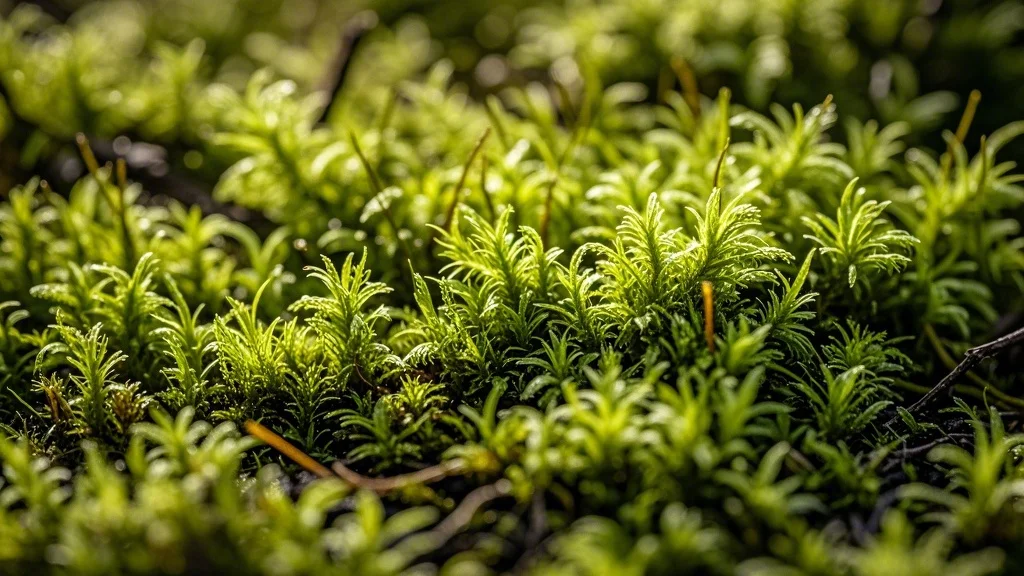
Sphagnum moss, often referred to as peat moss, is a remarkable medium for plant propagation. Its unique characteristics make it an excellent choice for rooting challenging cuttings:
- High water retention: Sphagnum can hold up to 20 times its weight in water, maintaining consistent moisture levels.
- Excellent aeration: Despite its water-holding capacity, sphagnum allows for proper air circulation around developing roots.
- Naturally sterile: Sphagnum has antimicrobial properties, reducing the risk of fungal and bacterial growth during propagation.
- pH regulation: It helps maintain a slightly acidic environment, which is ideal for root development in many plant species.
When to Use Sphagnum Moss Propagation
While sphagnum moss can be used for a wide variety of plants, it’s particularly useful for:
- Rare or expensive plants where success rates need to be maximized
- Plants with thick, woody stems that are slow to root
- Tropical plants that require high humidity
- Orchids and other epiphytes
- Plants prone to rot in water propagation
Some examples of plants that benefit from sphagnum propagation include:
- Monstera deliciosa and other Monstera species
- Philodendron varieties, especially rare cultivars
- Hoya species
- Ficus lyrata (Fiddle Leaf Fig)
- Difficult-to-root succulents
Preparing for Sphagnum Moss Propagation
Materials Needed:
- High-quality sphagnum moss
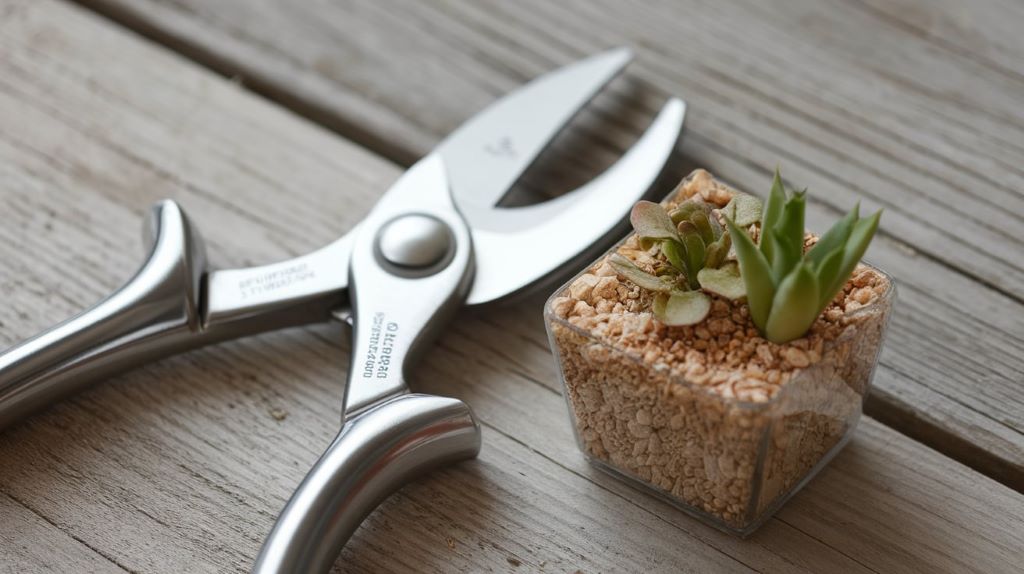
- Clean, sharp pruning shears or scissors
- Clear plastic bags or containers with lids
- Rooting hormone (optional, but recommended for difficult species)
- Spray bottle filled with water
- Small stakes or supports (if needed)
Preparing the Sphagnum Moss:
- Soak the sphagnum moss in water for 15-30 minutes to fully hydrate it.
- Gently squeeze out excess water. The moss should be damp but not dripping wet.
- Fluff the moss to create a light, airy texture.
Step-by-Step Sphagnum Moss Propagation Guide
1. Selecting and Preparing the Cutting
- Choose a healthy section of the plant with at least one node (the point where leaves emerge from the stem).
- Make a clean cut just below a node using sterilized pruning shears.
- Remove any lower leaves, leaving 1-2 leaves at the top of the cutting.
- For large leaves, you may need to trim them to reduce water loss through transpiration.
2. Applying Rooting Hormone (Optional)
- Dip the cut end of the stem in rooting hormone powder or gel.
- Tap off any excess hormone to avoid over-application.
3. Preparing the Propagation Container
- If using a plastic bag, inflate it slightly to create a dome-like structure.
- For containers, ensure they have a clear lid to maintain humidity.
- Place a layer of damp sphagnum moss at the bottom of the container or bag.
4. Positioning the Cutting
- Gently nestle the cutting into the sphagnum moss, ensuring the node is in contact with the moss.
- For longer cuttings, you can coil them gently within the moss.
- Use small stakes or supports if needed to keep the cutting upright.
5. Creating the Ideal Environment
- Mist the cutting and surrounding moss lightly with water.
- If using a bag, seal it to create a humid microclimate.
- For containers, close the lid, leaving it slightly ajar for air circulation.
- Place the propagation setup in a warm location with bright, indirect light.
6. Maintenance and Monitoring
- Check the setup every few days to ensure the moss remains damp but not waterlogged.
- Mist as needed to maintain humidity.
- Open the bag or container briefly every few days to allow for air exchange.
- Remove any leaves that show signs of decay to prevent fungal issues.
7. Rooting Time and Patience
- Rooting times can vary significantly depending on the plant species and environmental conditions.
- Most cuttings will show signs of root development within 4-8 weeks, but some may take longer.
- Resist the urge to disturb the cutting frequently, as this can disrupt the delicate rooting process.
8. Transitioning to Soil
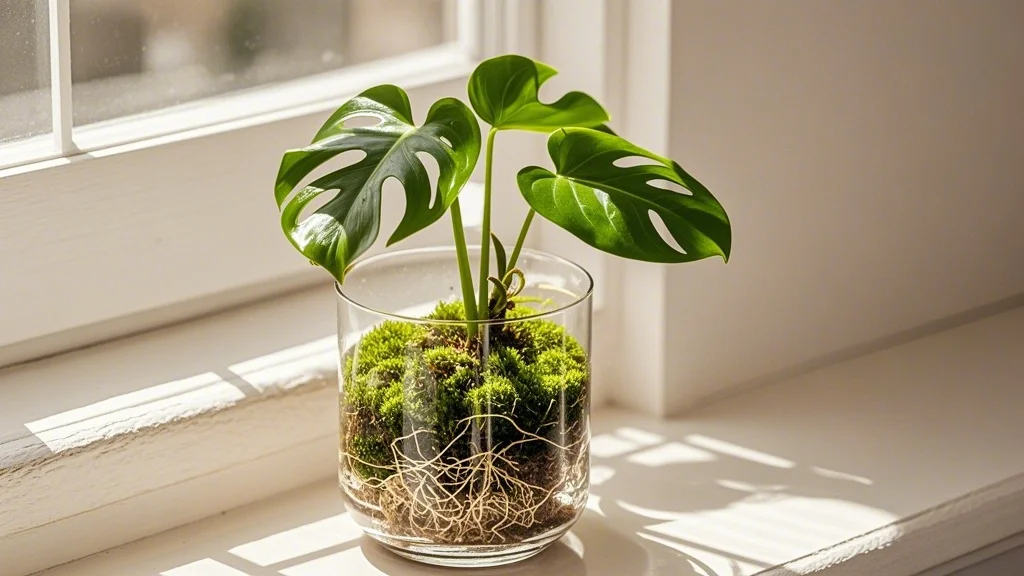
- Once roots are well-developed (typically 2-3 inches long), it’s time to transition to soil.
- Prepare a well-draining potting mix suitable for your specific plant.
- Gently remove the rooted cutting from the moss, taking care not to damage the new roots.
- Plant in the prepared soil, keeping the humidity high initially to ease the transition.
- Gradually acclimate the new plant to normal room conditions over 1-2 weeks.
Troubleshooting Common Issues
1. Rotting Cuttings
- Cause: Excessive moisture or poor air circulation.
- Solution: Ensure the moss is damp but not soaking wet. Increase air flow by opening the container more frequently.
2. Slow or No Root Development
- Cause: Insufficient humidity, too low temperature, or lack of patience.
- Solution: Check humidity levels, ensure warm temperatures (70-80°F is ideal), and give it more time.
3. Fungal Growth
- Cause: Overly wet conditions or contaminated moss.
- Solution: Remove affected areas, increase air circulation, and consider using a fungicide if persistent.
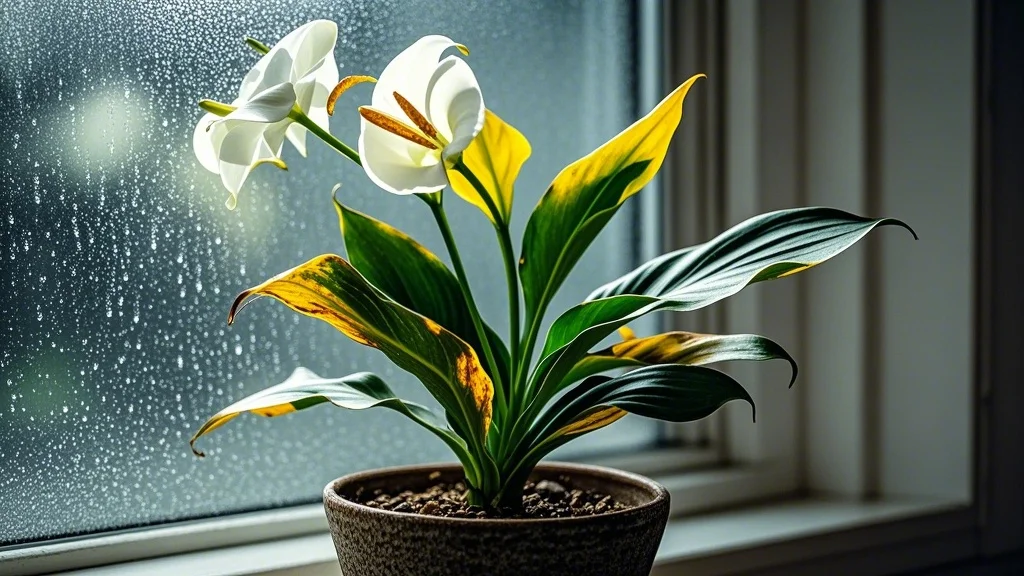
4. Leaf Yellowing or Dropping
- Cause: Natural process as the cutting focuses energy on root development.
- Solution: As long as the stem remains firm, this is usually not a concern. Ensure adequate light to support remaining leaves.
Advanced Techniques for Challenging Plants
Air-Layering with Sphagnum
For plants with thick, woody stems that are difficult to root from cuttings:
- Make a small incision in the bark of the desired propagation point.
- Apply rooting hormone to the wound.
- Wrap damp sphagnum moss around the area, securing it with plastic wrap.
- Once roots are visible through the moss, cut below the rooted section and pot up.
Sphagnum Moss Poles for Climbing Plants
Create a natural support for vining plants that also aids in propagation:
- Fill a mesh tube with damp sphagnum moss to create a pole.
- Secure the plant to the pole, ensuring nodes are in contact with the moss.
- Keep the moss damp to encourage aerial root growth and natural climbing.
Conclusion
Mastering sphagnum moss propagation opens up a world of possibilities for plant enthusiasts, especially when dealing with rare or difficult-to-root species. This method combines the benefits of high humidity, excellent aeration, and natural antimicrobial properties to create an ideal environment for root development. While it requires patience and attention to detail, the rewards of successfully propagating challenging plants make it a valuable technique in any plant lover’s toolkit.
Remember, each plant species may respond differently to this method, so don’t be discouraged if your first attempts aren’t immediately successful. Keep experimenting, observe your plants closely, and adjust your technique as needed. With practice, you’ll develop an intuitive understanding of how to use sphagnum moss propagation to expand your plant collection and tackle even the most challenging propagation projects.

