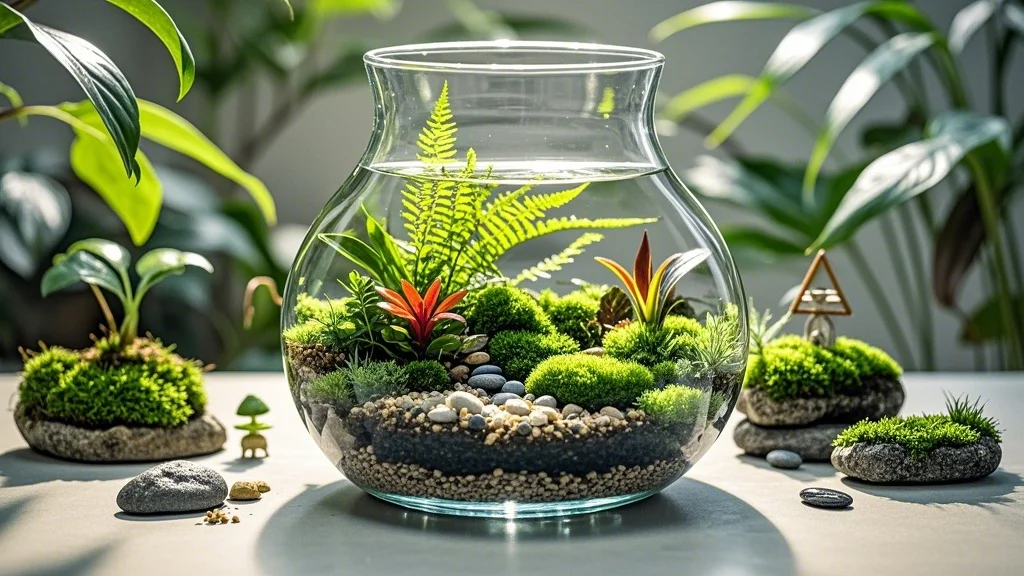
Creating terrariums is a delightful way to bring nature indoors, but why limit yourself to standard glass containers? This guide will explore unconventional and creative options for terrarium vessels, allowing you to express your unique style while nurturing miniature ecosystems. By thinking outside the box, you’ll discover that many everyday items can be repurposed into stunning terrarium containers.
The benefits of using creative containers are numerous:
- Personalization: Express your individual style
- Sustainability: Repurpose items that might otherwise be discarded
- Versatility: Adapt to different spaces and decor styles
- Cost-effectiveness: Use items you may already have on hand
While this project requires some creativity and basic DIY skills, it’s suitable for beginners and experienced terrarium creators alike. The end result will be a one-of-a-kind terrarium that serves as both a living decoration and a conversation piece.
Contents
Tools and Materials
Essential Tools:
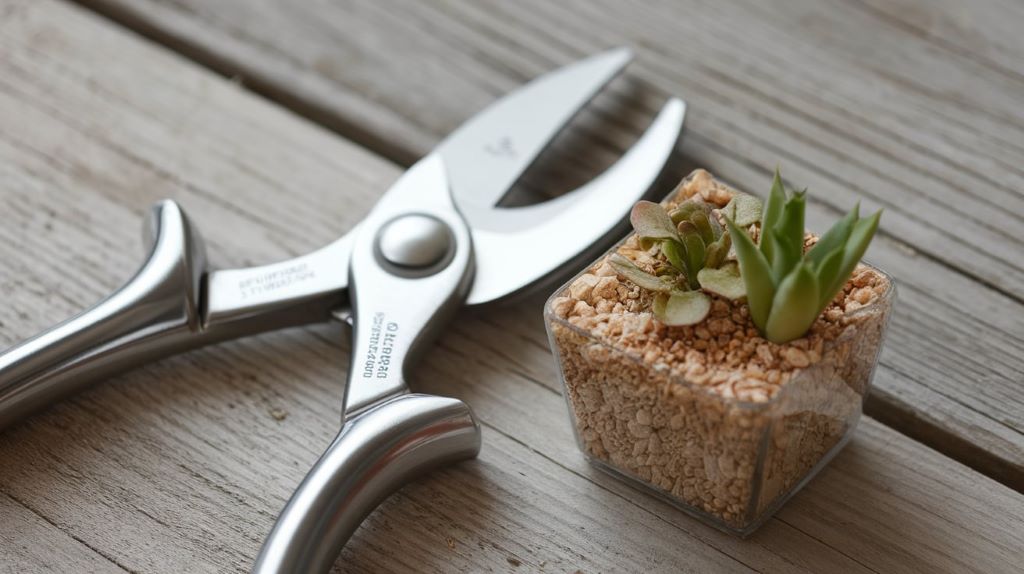
- Scissors or pruning shears
- Small trowel or spoon
- Spray bottle
- Gloves
- Paintbrush (for cleaning)
Essential Materials:
- Chosen container
- Small rocks or pebbles for drainage
- Activated charcoal
- Potting soil suitable for terrariums
- Small plants or moss
- Decorative elements (optional)
Alternative Options:
- Instead of rocks, try using recycled glass beads or marbles
- Coconut coir can be used as an alternative to traditional potting soil
- For drainage, consider using recycled plastic mesh cut to size
Preparation
Time and Space Requirements:
- Time: 1-2 hours, depending on the complexity of your design
- Space: A clean, well-lit work area with enough room to spread out materials
Safety Precautions:
- Wear gloves when handling soil and plants
- If using glass containers, inspect for sharp edges
- Work in a well-ventilated area, especially if using any adhesives or paints
Plant Preparation:
- Choose plants with similar care requirements
- Gently remove excess soil from roots
- Trim any damaged leaves or overgrown roots
Step-by-Step Guide
Step 1: Select Your Container
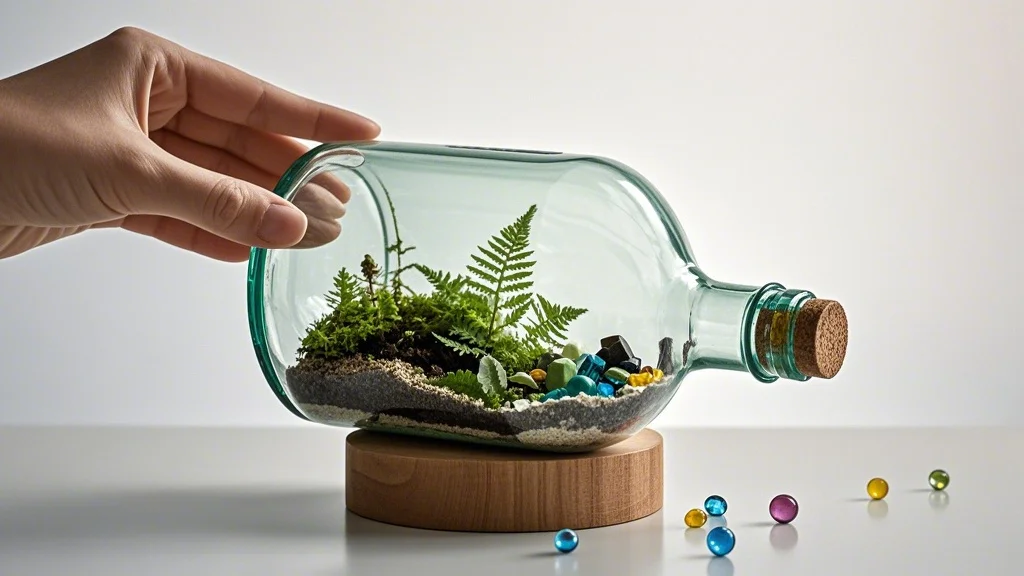
Think creatively when choosing your container. Some unique options include:
- Vintage teapots or coffee pots
- Old light bulbs (carefully hollowed out)
- Mason jars or preserving jars
- Unused fish tanks or bowls
- Antique birdcages
- Wooden boxes lined with plastic
- Repurposed kitchen items like colanders or large serving bowls
Ensure your chosen container has enough depth for soil and plant roots, and consider drainage needs.
Step 2: Prepare the Container
- Clean the container thoroughly with soap and water
- If using a non-transparent container, consider lining it with clear plastic for moisture control
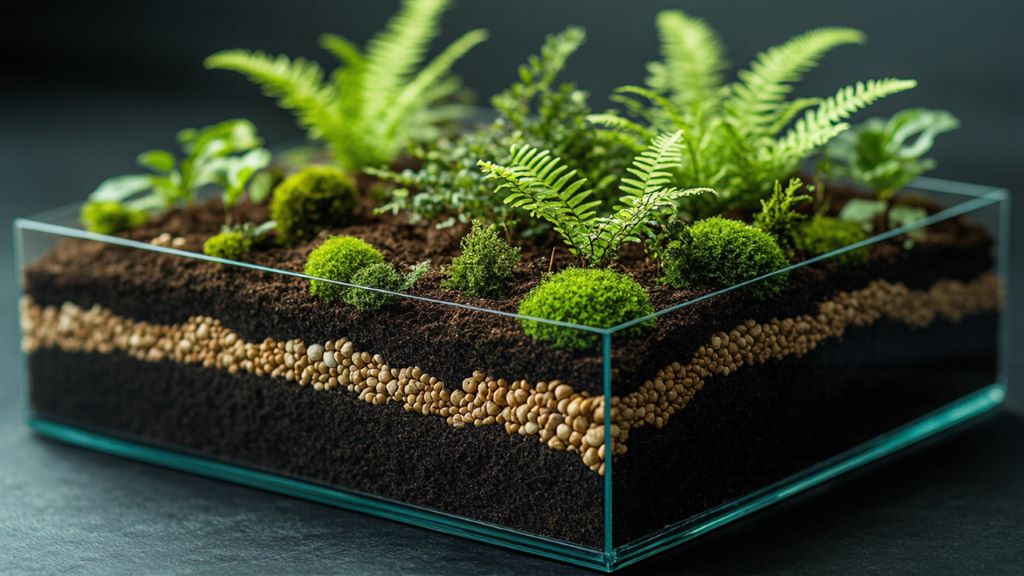
- For containers without drainage holes, add a layer of small rocks or pebbles at the bottom (about 1-2 inches deep)
- Sprinkle a thin layer of activated charcoal over the rocks to help with odor control and water filtration
Step 3: Add Soil
- Mix your potting soil with a small amount of sand or perlite to improve drainage
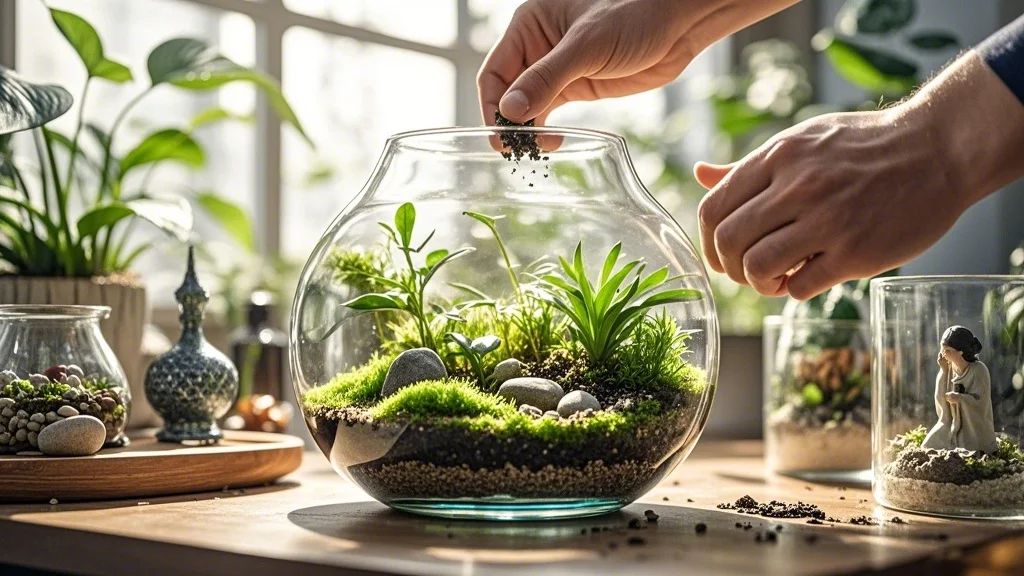
- Add a layer of soil on top of the charcoal, deep enough to accommodate plant roots (typically 2-3 inches)
- Use a spoon or small trowel to create small depressions where you’ll place your plants
Step 4: Plant Arrangement
- Remove plants from their nursery pots and gently loosen the root balls
- Place larger plants first, followed by smaller ones
- Use tweezers or a small stick to help position smaller plants or moss
- Add more soil around the plants, gently pressing to eliminate air pockets
Step 5: Decorate and Finish
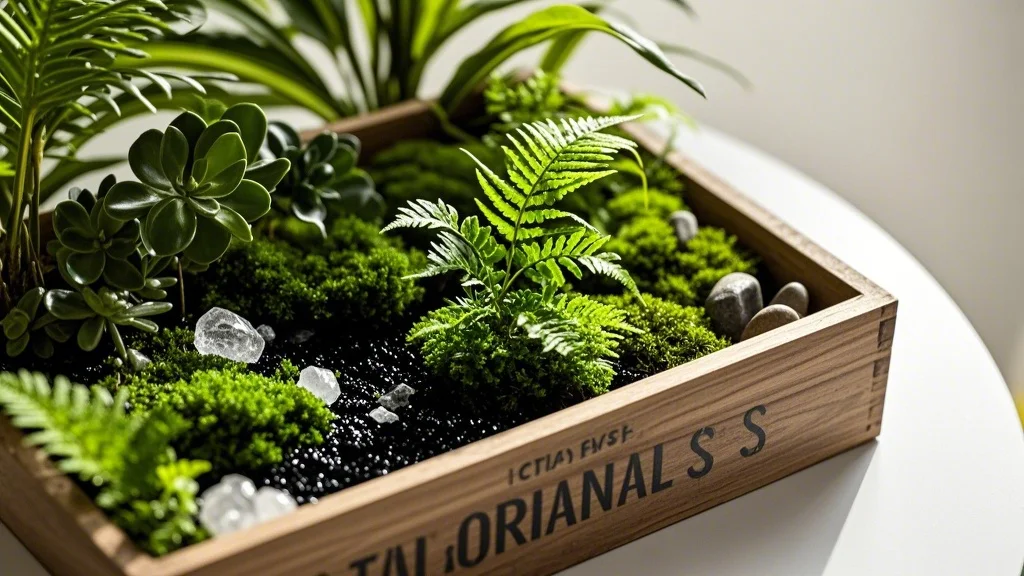
- Add decorative elements like small figurines, crystals, or driftwood
- Use a spray bottle to lightly mist the plants and soil
- Clean any soil from the container’s sides with a small paintbrush
- If using a closed container, secure the lid or cover
Troubleshooting and Adjustments
Common Challenges:
- Moisture control in non-traditional containers
- Solution: Monitor closely and adjust watering as needed. Consider adding a moisture meter.
- Limited root space in smaller containers
- Solution: Choose miniature plant varieties or trim roots periodically.
- Lack of drainage in sealed containers
- Solution: Be extra cautious with watering and ensure a thick drainage layer.
Plant-Specific Adjustments:
- Succulents: Use a more porous soil mix and ensure excellent drainage
- Tropical plants: Increase humidity with regular misting or a pebble tray
- Air plants: Can be placed directly on decorative elements without soil
Aftercare
Immediate Care:
- Place your terrarium in appropriate light conditions based on plant needs
- Avoid direct sunlight for the first few days to prevent shock
- Do not water immediately; allow plants to settle for 1-2 days
Long-term Maintenance:
- Water sparingly, only when the top layer of soil feels dry
- Trim plants as needed to maintain size and shape
- Clean the container walls periodically to maintain visibility
- Fertilize lightly every 4-6 months with a diluted, balanced fertilizer
Signs of Success:
- New growth on plants
- Condensation forming naturally (in closed terrariums)
- Stable soil moisture levels
- Healthy, vibrant plant color
Frequently Asked Questions
-
Q: Can I use any container for a terrarium?
A: While many containers can work, ensure it’s clean, non-toxic, and provides adequate space for plants and soil.
-
Q: How often should I water my creative terrarium?
A: It depends on the container and plants. Generally, water when the top inch of soil feels dry, but always err on the side of underwatering.
-
Q: Can I mix succulents and tropical plants in the same terrarium?
A: It’s best to stick with plants that have similar care requirements. Succulents and tropical plants typically need different conditions.
-
Q: How do I prevent mold growth in my terrarium?
A: Ensure proper air circulation, avoid overwatering, and remove any dead plant material promptly.
-
Q: Can I create a terrarium in a container without drainage holes?
A: Yes, but you’ll need to be extra careful with watering. Create a thick drainage layer and monitor moisture levels closely.
Conclusion
Creating terrariums in unconventional containers is a fun and rewarding way to bring nature into your home while expressing your creativity. By following these steps and guidelines, you can transform everyday objects into stunning miniature gardens. Remember to:
- Choose a unique container that suits your style
- Prepare it properly with drainage and soil layers
- Select and arrange plants thoughtfully
- Decorate to enhance the overall aesthetic
- Provide appropriate care for long-term success
Don’t be afraid to experiment with different containers and plant combinations. Each terrarium you create will be a unique piece of living art, reflecting your personal style and connection to nature. Happy terrarium crafting!

