Air layering is a sophisticated propagation technique that allows plant enthusiasts to clone larger, woody houseplants that may be challenging to propagate through traditional methods. This process, while requiring patience and precision, can yield impressive results, producing fully-rooted new plants that are often larger and more mature than those grown from cuttings.
Contents
- 1 What is Air Layering?
- 2 When to Use Air Layering
- 3 Materials Needed
- 4 Step-by-Step Air Layering Process
- 5 Tips for Success
- 6 Troubleshooting Common Issues
- 7 Best Plants for Air Layering
- 8 Advanced Techniques
- 9 The Science Behind Air Layering
- 10 Environmental Benefits of Air Layering
- 11 Comparing Air Layering to Other Propagation Methods
- 12 Conclusion
What is Air Layering?
Air layering is a method of propagation where roots are encouraged to form on a stem while it’s still attached to the parent plant. This technique is particularly useful for plants with thick, woody stems that don’t root easily from cuttings, such as rubber plants (Ficus elastica), dieffenbachia, and some varieties of dracaena.
When to Use Air Layering
Consider air layering when:
- Your plant has become too tall and leggy
- You want to propagate a large, mature section of the plant
- Traditional cutting methods have failed
- You’re working with plants that are slow to root or have thick, woody stems
Materials Needed
To perform air layering, you’ll need:
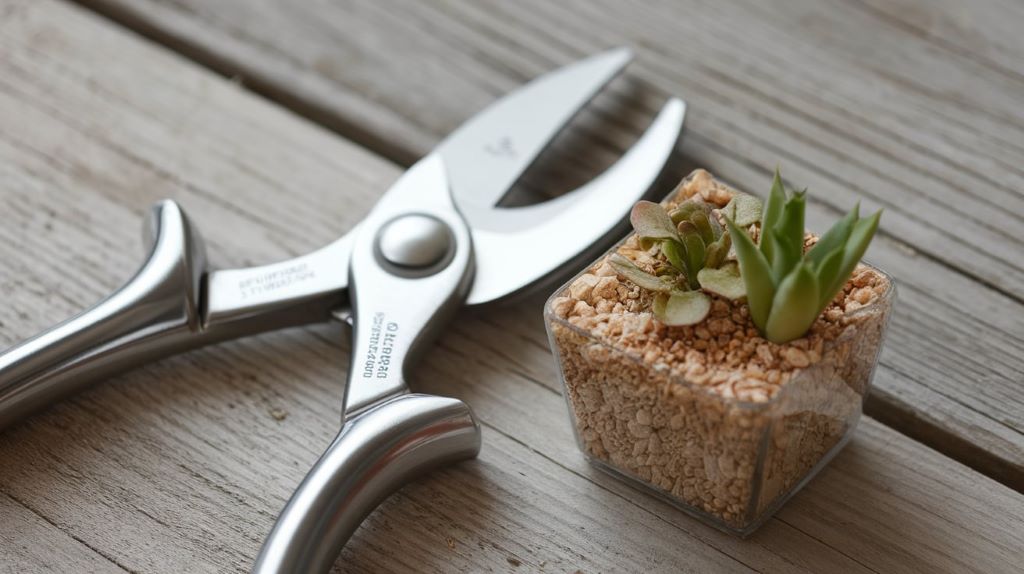
- Sharp, sterilized pruning shears or a knife
- Sphagnum moss
- Plastic wrap
- Twist ties or plant tape
- Rooting hormone (optional, but recommended)
- Small paintbrush or cotton swab for applying rooting hormone
Step-by-Step Air Layering Process
1. Choose the Right Time and Location
Timing is crucial for successful air layering. Spring or early summer, when the plant is in its active growing phase, is ideal. Select a healthy stem that’s at least pencil-thick and remove any leaves or branches near the chosen site.
2. Prepare the Stem
- Make two parallel cuts about 1-1.5 inches apart, circling the stem. These cuts should only go through the bark and cambium layer, not into the woody core.
- Carefully remove the ring of bark between these cuts, exposing the inner wood. This area is where new roots will form.
3. Apply Rooting Hormone
Using a small paintbrush or cotton swab, apply rooting hormone to the exposed wood. This step, while optional, can significantly increase your success rate and speed up the rooting process.
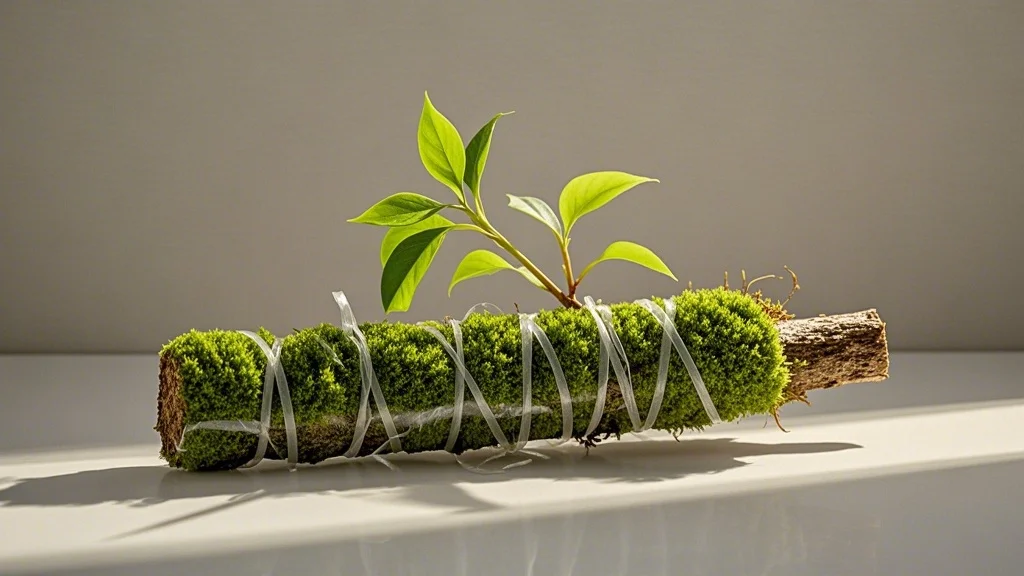
4. Add Moistened Sphagnum Moss
- Soak sphagnum moss in water, then squeeze out excess moisture.
- Pack a handful of the damp moss around the exposed area of the stem, covering it completely.
5. Wrap and Seal
- Wrap the moss-covered area with plastic wrap, ensuring it’s snug but not too tight.
- Secure the plastic at both ends with twist ties or plant tape, creating a watertight seal.
6. Monitor and Maintain
- Keep the moss moist by misting through small holes in the plastic or by injecting water with a syringe.
- Place the plant in bright, indirect light and maintain regular care for the parent plant.
- After 4-8 weeks, you should see roots forming through the plastic.
7. Separate and Pot
- Once you see a good network of roots, cut below the rooted section.
- Carefully remove the plastic and moss, taking care not to damage the new roots.
- Pot the new plant in well-draining soil and treat it as you would any new houseplant, providing extra care and attention during the transition period.
Tips for Success
- Patience is key. Some plants may take several months to develop sufficient roots.
- Choose a stem that’s healthy and free from disease or pest damage.
- Ensure the moss remains consistently moist but not waterlogged.
- If you don’t see root development after 2-3 months, consider starting over at a different location on the plant.
Troubleshooting Common Issues
No Root Development
If you don’t see roots forming after several months, the wound may have healed over. In this case, you’ll need to start the process again, possibly choosing a different location on the plant.
Mold Growth
If you notice mold developing inside the plastic wrap, carefully open the wrapping, remove the moldy moss, and replace it with fresh, sterile moss. Ensure proper air circulation by poking tiny holes in the plastic wrap.
Stem Rot
If the stem begins to rot, it’s likely due to excess moisture. Remove the wrapping immediately, allow the area to dry, and start over with less moist moss and better drainage holes in the plastic.
Best Plants for Air Layering
While many woody houseplants can be propagated through air layering, some are particularly well-suited to this method:
- Rubber Plant (Ficus elastica)
- Fiddle Leaf Fig (Ficus lyrata)
- Dieffenbachia
- Dracaena
- Monstera deliciosa
- Schefflera
- Chinese Evergreen (Aglaonema)
- Umbrella Plant (Schefflera arboricola)
Advanced Techniques
Multiple Air Layers
For plants with long, bare stems, you can create multiple air layers along the same stem. This technique is particularly useful for rejuvenating leggy plants while creating several new plants simultaneously.
Aerial Root Enhancement
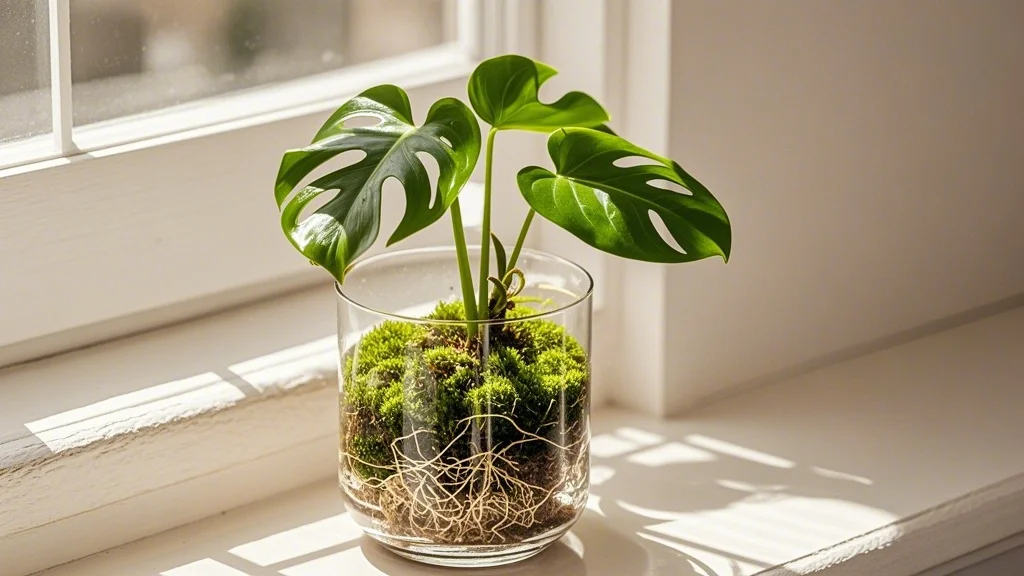
For plants with aerial roots, like Monstera deliciosa, you can incorporate these roots into your air layer. Gently guide the aerial root into the moss when wrapping the stem. This can speed up the rooting process and result in a more robust root system.
The Science Behind Air Layering
Air layering works by interrupting the plant’s phloem, the living tissue that carries organic nutrients to growing parts of the plant. By removing a ring of bark, you’re creating a dam that causes hormones and carbohydrates to accumulate above the cut. This concentration of growth substances, combined with the moist environment provided by the moss, stimulates root formation.
Environmental Benefits of Air Layering
Air layering is not just an effective propagation technique; it also has environmental benefits:
- Resource Efficiency: It requires less water and fewer materials compared to growing plants from seeds or cuttings.
- Space Saving: You can propagate large plants without needing extra nursery space.
- Genetic Preservation: It allows for the exact replication of desirable plant traits.
Comparing Air Layering to Other Propagation Methods
| Method | Pros | Cons | Best For |
|---|---|---|---|
| Air Layering | Large, rooted plants; High success rate | Time-consuming; Requires precision | Woody, hard-to-root plants |
| Stem Cuttings | Quick; Simple | Smaller plants; Lower success with woody stems | Soft-stemmed plants |
| Division | Instant mature plants | Limited to clumping plants | Plants with multiple stems or crowns |
| Leaf Cuttings | Works for some plants that can’t be propagated other ways | Slow; Not suitable for all plants | Succulents, some foliage plants |
Conclusion
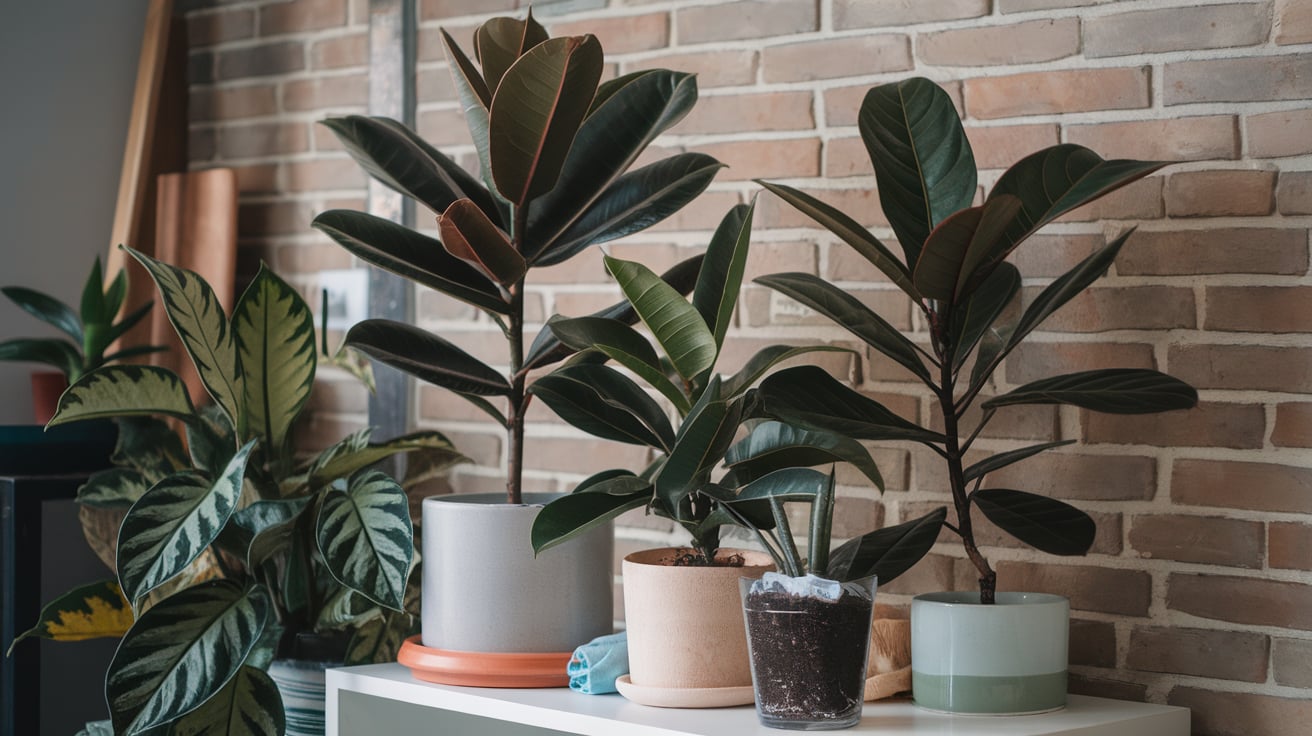
Air layering is a valuable skill for any serious plant enthusiast. While it requires more time and precision than other propagation methods, the results can be spectacular. With practice, you’ll be able to clone your favorite woody houseplants, rejuvenate overgrown specimens, and expand your indoor garden with healthy, mature plants. Remember, patience is key in this process, but the reward of a successfully rooted air layer is well worth the wait.
By mastering air layering, you’re not just propagating plants; you’re participating in a horticultural tradition that spans centuries and cultures. So, gather your materials, choose a promising stem, and embark on this exciting propagation adventure. Your urban jungle will thank you for it!

