Plant propagation is an exciting way to expand your indoor garden and share your beloved plants with friends. However, the process isn’t always smooth sailing. Many plant enthusiasts encounter frustrating roadblocks when their cuttings refuse to root. This comprehensive guide will explore common propagation problems and provide practical solutions to help you achieve successful results.
Contents
Understanding the Basics of Propagation
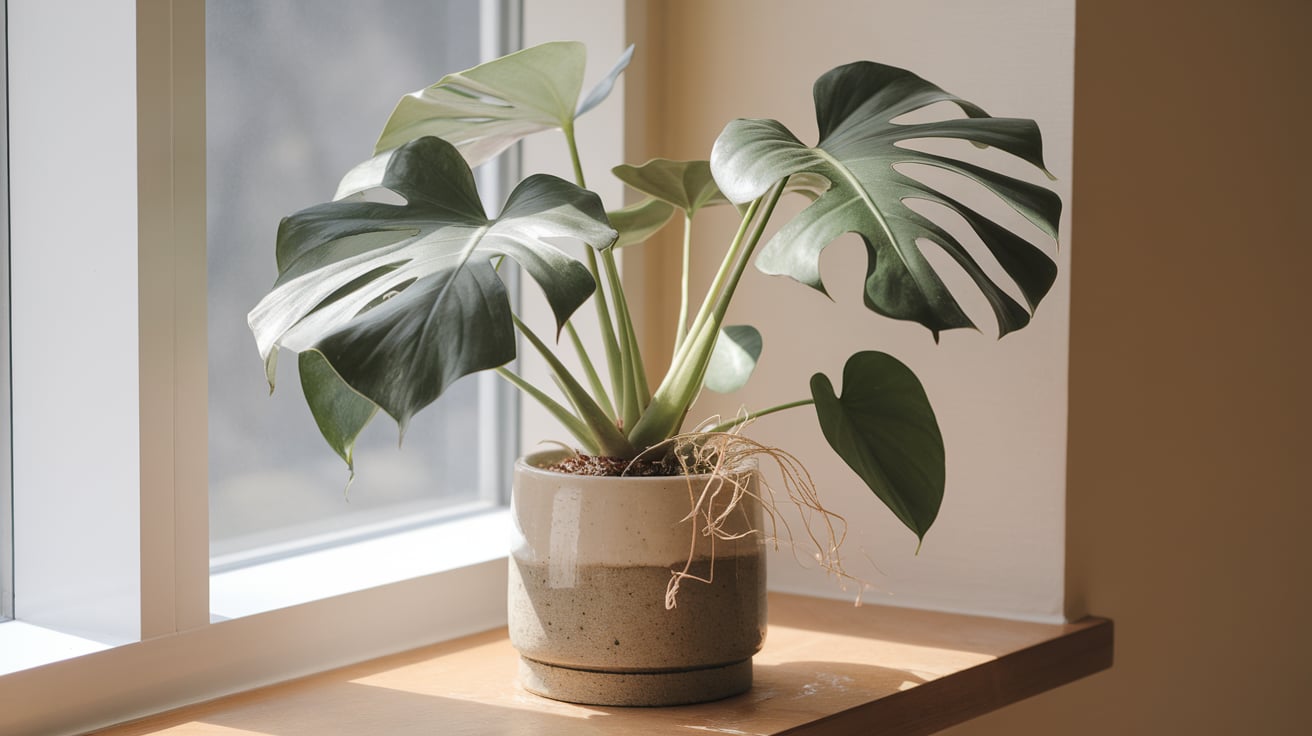
Before diving into troubleshooting, let’s briefly review the fundamentals of plant propagation:
- Selecting healthy parent plants
- Choosing the right propagation method (water, soil, or other mediums)
- Providing appropriate environmental conditions (light, temperature, humidity)
- Maintaining patience and consistent care
When any of these elements are off-balance, rooting problems can occur. Let’s explore the most common issues and their solutions.
Common Propagation Problems and Solutions
1. Rotting Cuttings
Problem: One of the most disheartening issues is when cuttings turn mushy and begin to rot instead of developing roots.
Solutions:
- Ensure proper sanitation: Always use clean, sterilized tools when taking cuttings.
- Remove lower leaves: Submerged leaves can lead to rot. Remove leaves that will be below the water line or soil surface.
- Change water regularly: If propagating in water, replace it every 2-3 days to prevent bacterial growth.
- Use rooting hormone: This can help stimulate root growth and protect against rot.
- Try a different medium: Some plants root better in soil or perlite than in water.
2. Callus Formation Without Roots
Problem: Sometimes cuttings form a callus (a hard, protective tissue) but fail to produce roots.
Solutions:
- Be patient: Some plants take longer to root. Give them time.
- Provide bottom heat: A heating mat can stimulate root growth.
- Adjust light conditions: Ensure cuttings receive bright, indirect light.
- Try air layering: This method can be more successful for difficult-to-root plants.
3. Leaf Drop or Wilting
Problem: Cuttings lose leaves or wilt significantly during the propagation process.
Solutions:
- Increase humidity: Use a clear plastic bag or propagation dome to create a mini greenhouse effect.
- Mist regularly: Keep leaves hydrated with frequent misting.
- Reduce leaf surface: Trim larger leaves to reduce water loss through transpiration.
- Check for drafts: Ensure cuttings are not in a location with temperature fluctuations.
4. Slow or No Root Development
Problem: Cuttings remain alive but show no signs of rooting after several weeks.
Solutions:
- Verify the cutting location: Ensure you’ve taken the cutting from the right part of the plant (usually just below a node).
- Adjust light levels: Too much or too little light can hinder root development.
- Try rooting hormone: Different strengths are available for woody vs. soft stem cuttings.
- Check water quality: If using tap water, let it sit out overnight to allow chlorine to dissipate.
5. Fungal or Bacterial Issues
Problem: Cuttings develop spots, mold, or show signs of infection.
Solutions:
- Improve air circulation: Use a small fan to gently move air around your propagation setup.
- Reduce humidity: While humidity is important, too much can promote fungal growth.
- Apply fungicide: A mild, organic fungicide can help prevent and treat issues.
- Isolate affected cuttings: Remove any visibly infected cuttings to prevent spread.
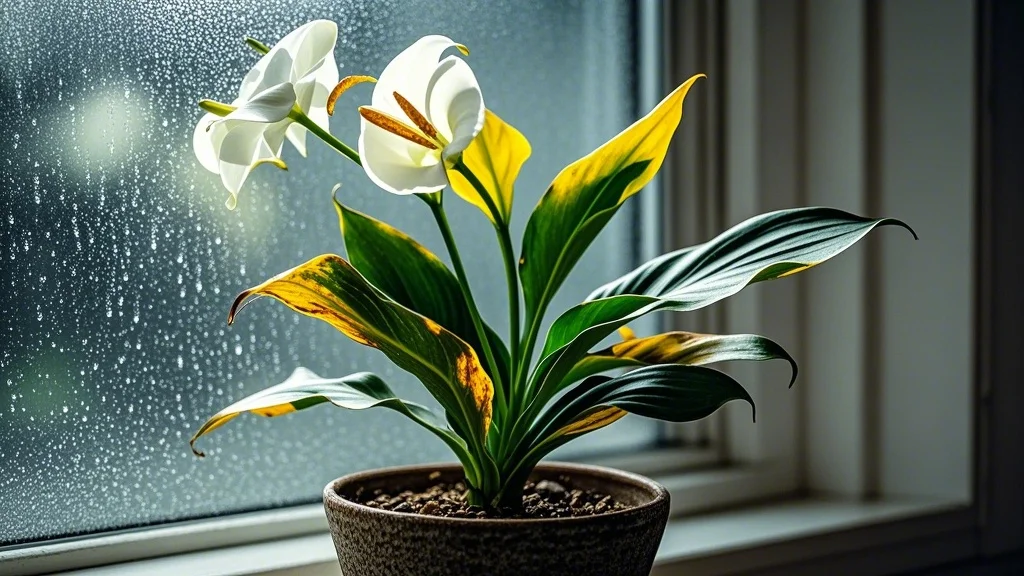
6. Yellowing Leaves
Problem: Leaves on cuttings turn yellow and may fall off.
Solutions:
- Check nutrient levels: If propagating in water long-term, consider adding a weak fertilizer solution.
- Adjust light: Yellowing can be a sign of too much or too little light.
- Inspect for pests: Even cuttings can be susceptible to spider mites or other pests.
7. Leggy or Etiolated Growth
Problem: New growth on cuttings is sparse and elongated.
Solutions:
- Increase light intensity: Move cuttings to a brighter location or supplement with grow lights.
- Rotate regularly: Turn cuttings every few days to promote even growth.
- Pinch back: Once rooted, pinch the growing tip to encourage bushier growth.
Advanced Troubleshooting Techniques
1. pH Testing
The pH of your propagation medium can significantly impact root development. Most plants prefer a slightly acidic to neutral pH (6.0-7.0). Use pH testing strips to check your water or soil and adjust as needed with pH up or down solutions.
2. Temperature Control
Different plants have different optimal rooting temperatures. Generally, warmer temperatures (70-80°F or 21-27°C) promote faster rooting. Use a thermometer to monitor your propagation area and adjust with heating mats or by relocating your setup.
3. Hormone Experimentation
Not all rooting hormones are created equal. Experiment with different brands and strengths. Some plants respond better to liquid formulations, while others prefer powders or gels.
4. Propagation in Alternative Mediums
If traditional methods aren’t working, consider alternatives:
- LECA (Lightweight Expanded Clay Aggregate)
- Sphagnum moss
- Perlite or vermiculite
- Rockwool cubes
Each medium has its benefits and may work better for certain plant species.
Species-Specific Considerations
Different plant families can have unique propagation requirements. Here are some examples:
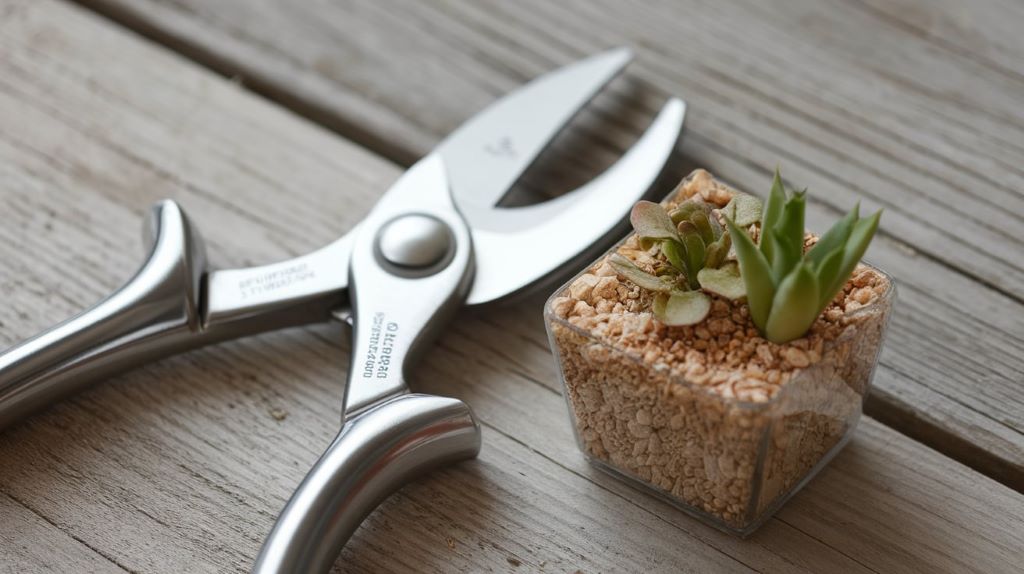
- Succulents and Cacti: Allow cuttings to callus before planting. Use a well-draining, gritty mix.
- Ficus and Rubber Plants: These often benefit from air layering rather than traditional cuttings.
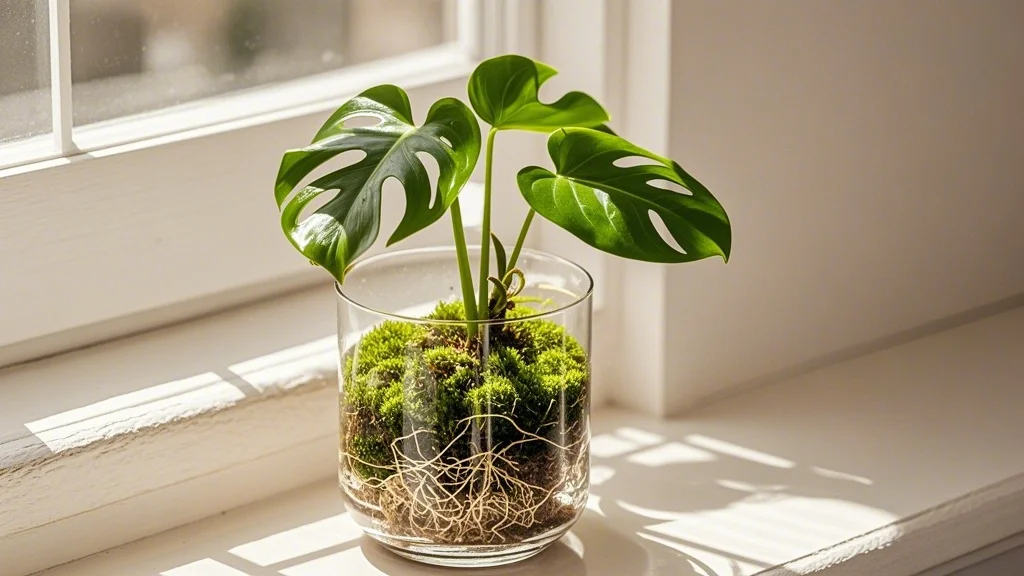
- Monstera and Philodendron: These tropical plants often root easily in water but may develop weaker root systems compared to soil propagation.
- Woody Herbs (Rosemary, Lavender): These can be challenging and often require bottom heat and rooting hormone for success.
Tools and Technologies for Propagation Success
Investing in the right equipment can significantly improve your propagation success rate:
- Propagation Stations: These provide an organized setup for water propagation and can be both functional and decorative.
- Heat Mats: Essential for plants that require warmer soil temperatures to root.
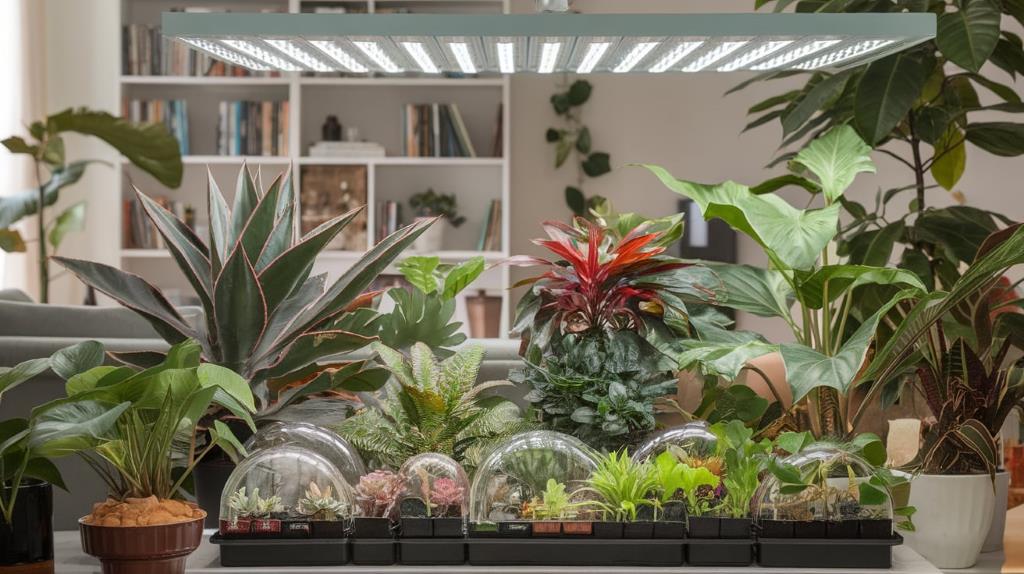
- Humidity Domes: These create a microclimate that many cuttings thrive in.
- Grow Lights: Especially useful for propagating during winter months or in low-light environments.
- Misting Systems: Automated misting can maintain ideal humidity levels without constant attention.
The Importance of Record Keeping
Maintaining a propagation journal can be invaluable for troubleshooting and improving your success rate over time. Record:
- Date of cutting
- Parent plant information
- Propagation method used
- Environmental conditions
- Observations and outcomes
This data will help you identify patterns and refine your techniques for different plant species.
When to Start Over
Sometimes, despite your best efforts, a cutting simply won’t root. Know when to cut your losses:
- If the cutting shows signs of rot or disease, discard it immediately.
- If there’s no sign of root development after 6-8 weeks (for most plants), it may be time to try again with a fresh cutting.
- If the cutting has lost all its leaves or the stem has turned brown and dry, it’s unlikely to recover.
Conclusion
Propagation can be a rewarding but sometimes challenging aspect of plant care. By understanding common problems and implementing these troubleshooting techniques, you’ll be well-equipped to handle most rooting issues. Remember that patience and persistence are key – even experienced gardeners face propagation failures. Each attempt is a learning opportunity that will ultimately contribute to your success as an urban gardener.
Keep experimenting with different methods, stay observant, and don’t be afraid to ask for advice from fellow plant enthusiasts. With time and practice, you’ll develop a green thumb for propagation, filling your home with thriving new plants and sharing your passion with others. Happy propagating!

