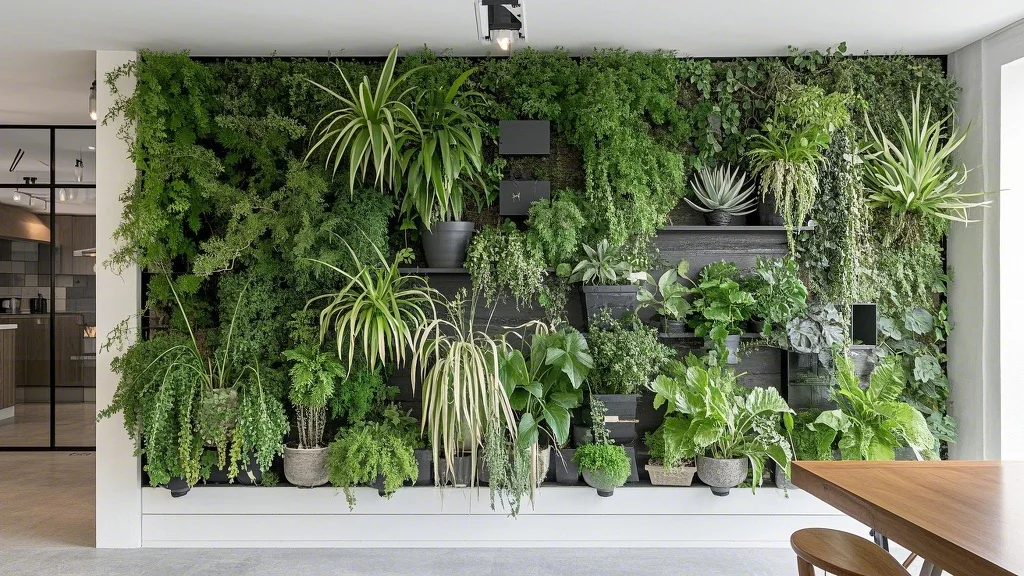
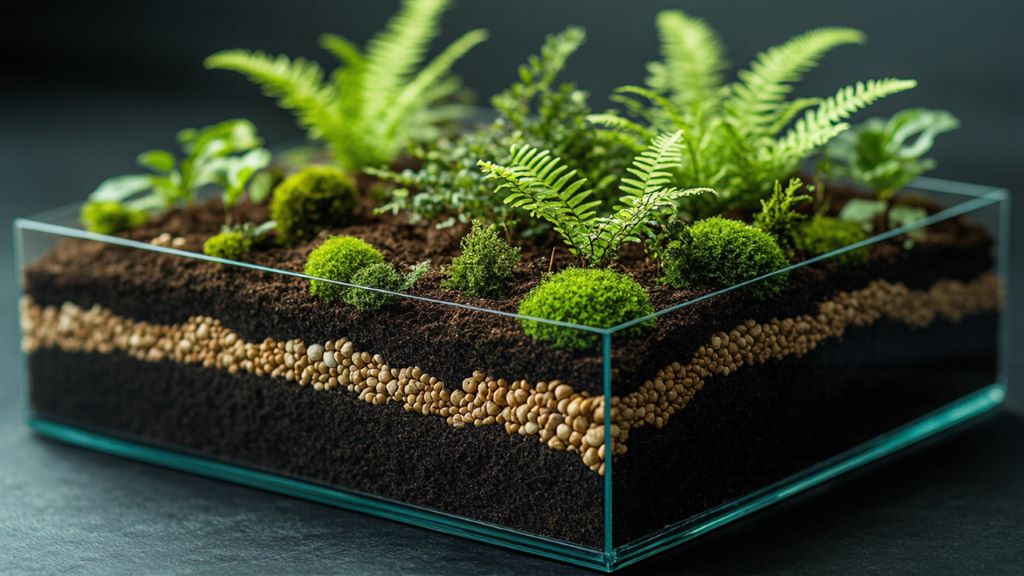
Vertical gardening has revolutionized the way urban dwellers approach plant cultivation, transforming blank walls into living tapestries of color and texture. Among the most striking and practical vertical garden options are succulent walls—stunning arrangements of drought-tolerant plants that combine architectural interest with minimal maintenance requirements. These living installations not only maximize limited space but also serve as breathtaking focal points in any environment.
Succulents, with their remarkable ability to store water in fleshy leaves, stems, or roots, are perfectly adapted for vertical displays. Their diverse shapes, colors, and growth habits create fascinating visual compositions while their minimal water requirements make them sustainable choices for eco-conscious gardeners. Whether you’re working with a small indoor frame or an expansive outdoor wall, succulent vertical gardens offer endless creative possibilities.
This comprehensive guide will walk you through everything you need to know to create your own thriving succulent wall—from selecting the right varieties and materials to installation techniques and long-term maintenance strategies. Let’s transform your vertical spaces into drought-tolerant masterpieces that will captivate and inspire.
Contents
Benefits of Succulent Walls
Before diving into construction, let’s explore why succulent walls have become increasingly popular:
- Water Conservation: Succulents require minimal irrigation compared to traditional plants, making them environmentally responsible choices.
- Space Efficiency: Vertical gardens utilize wall space, ideal for apartments, small patios, or any area with limited horizontal planting room.
- Visual Impact: The geometric patterns and varied textures of succulents create stunning living artwork.
- Low Maintenance: Once established, succulent walls require infrequent attention compared to other plant displays.
- Longevity: Many succulents are slow-growing and long-lived, providing years of enjoyment with minimal replacement.
- Air Purification: Like other plants, succulents help improve indoor air quality by filtering toxins.
- Temperature Regulation: Exterior succulent walls can provide insulation, helping regulate building temperatures.
Planning Your Succulent Wall
Location Considerations
The success of your succulent wall begins with proper placement:
Indoor Placement:
- Choose a location receiving at least 6 hours of bright, indirect sunlight daily
- Avoid placing near heating/cooling vents that create temperature fluctuations
- Consider proximity to water sources for maintenance convenience
- Ensure the wall can support the weight of your installation
Outdoor Placement:
- South or west-facing walls typically provide ideal light conditions
- Assess exposure to rainfall (some protection from excessive precipitation is beneficial)
- Consider seasonal temperature variations in your climate
- Evaluate wind exposure, which can accelerate moisture loss
Size and Scale
Determine the dimensions of your succulent wall based on:
- Available wall space
- Visual proportion to surrounding elements
- Budget constraints
- Maintenance capabilities
- Weight considerations for the supporting structure
For beginners, starting with a smaller display (2×2 feet) allows you to develop techniques before committing to larger installations.
Selecting Succulents for Vertical Gardens
Best Varieties for Vertical Displays
Not all succulents perform equally well in vertical settings. Look for these characteristics:
- Compact growth habits
- Shallow root systems
- Trailing or spreading tendencies
- Drought tolerance
- Similar light and water requirements
Recommended Varieties:
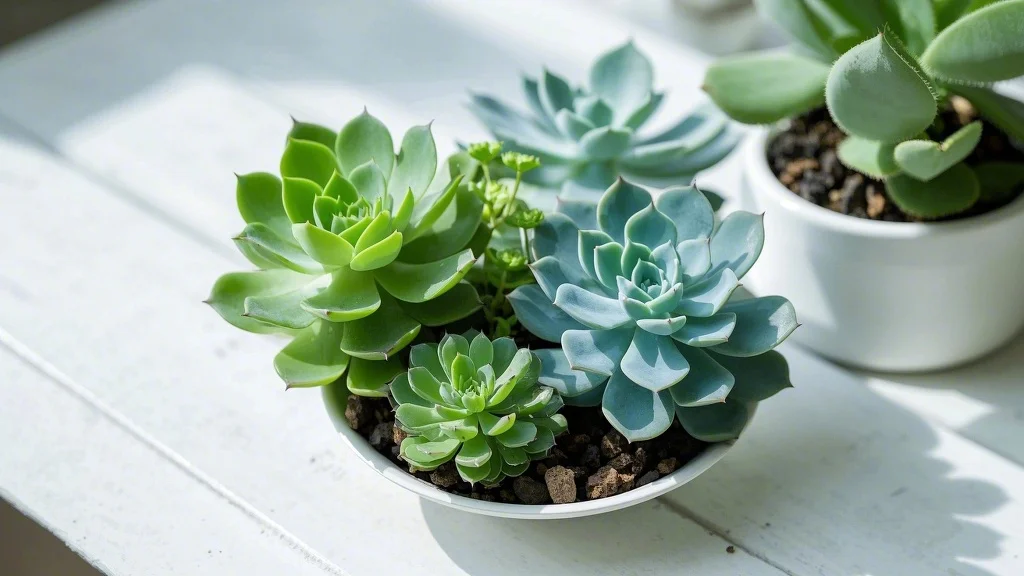
- Echeveria: Rosette-forming succulents in blues, pinks, and greens
- Sedum: Trailing varieties like ‘Burrito’ or ‘Morganianum’ create cascading effects
- Sempervivum (Hens and Chicks): Produce offsets that fill spaces naturally
- Crassula: Including varieties like Jade Plant and ‘String of Buttons’
- Aeonium: Form dramatic rosettes on woody stems
- Kalanchoe: Offer interesting leaf shapes and occasional flowering
- Senecio: Trailing types like ‘String of Pearls’ add unique texture
- Graptosedum: Hybrids combining the best traits of Graptopetalum and Sedum
- Pachyveria: Crosses between Pachyphytum and Echeveria with attractive coloration
- Haworthia: Compact rosettes that tolerate lower light conditions
Color and Texture Planning
Create visual interest by considering:
- Color Combinations: Contrast greens with blues, purples, and reds
- Seasonal Changes: Some varieties display enhanced coloration during temperature shifts
- Texture Variations: Mix smooth-leaved varieties with fuzzy or crystalline types
- Growth Patterns: Alternate rosette forms with trailing or upright varieties
- Size Progression: Position larger specimens as focal points surrounded by smaller varieties
Sketch your design before planting, considering how colors and textures will interact as the wall matures.
Materials and Tools
Frame Options
Several frame styles work well for succulent walls:
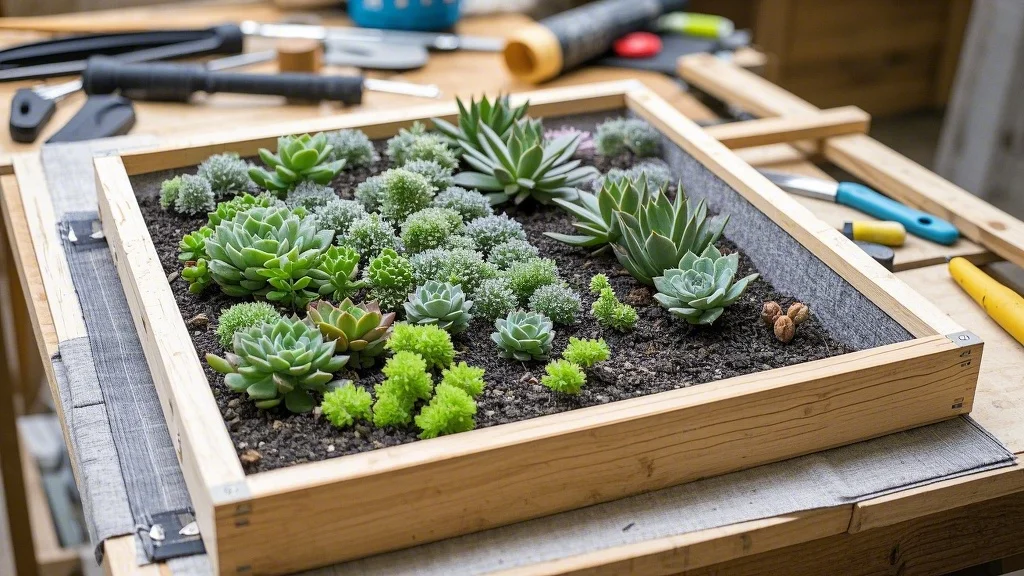
- Wooden Frames with Hardware Cloth:
- DIY-friendly and customizable
- Requires waterproofing treatment
- Can be built to any dimension
- Pre-made Succulent Wall Planters:
- Commercially available in various sizes
- Often include built-in irrigation systems
- Typically more expensive but convenient
- Repurposed Picture Frames:
- Ideal for smaller indoor displays
- Can incorporate decorative frame elements
- Limited in size and weight capacity
- Modular Panel Systems:
- Allow for expansion over time
- Can be rearranged as needed
- Easier to maintain in sections
Growing Medium
The ideal growing medium for succulent walls differs from standard potting soil:
- Cactus/Succulent Mix: Base component providing appropriate drainage
- Perlite or Pumice: Increases aeration and reduces weight
- Coconut Coir: Helps retain some moisture without becoming waterlogged
- Fine Gravel: Adds weight and stability for plant anchoring
Recommended ratio: 2 parts cactus mix, 1 part perlite/pumice, 1 part coconut coir, with a small amount of fine gravel.
Backing Materials
To prevent soil loss while allowing drainage:
- Landscape Fabric: Permeable material that holds soil while allowing water to pass
- Coco Liner: Natural fiber that provides both structure and drainage
- Sphagnum Moss: Helps retain moisture while supporting plants
- Hardware Cloth/Wire Mesh: Creates structure for other backing materials
Essential Tools
Gather these tools before beginning construction:
- Drill with various bit sizes
- Staple gun and staples
- Wire cutters
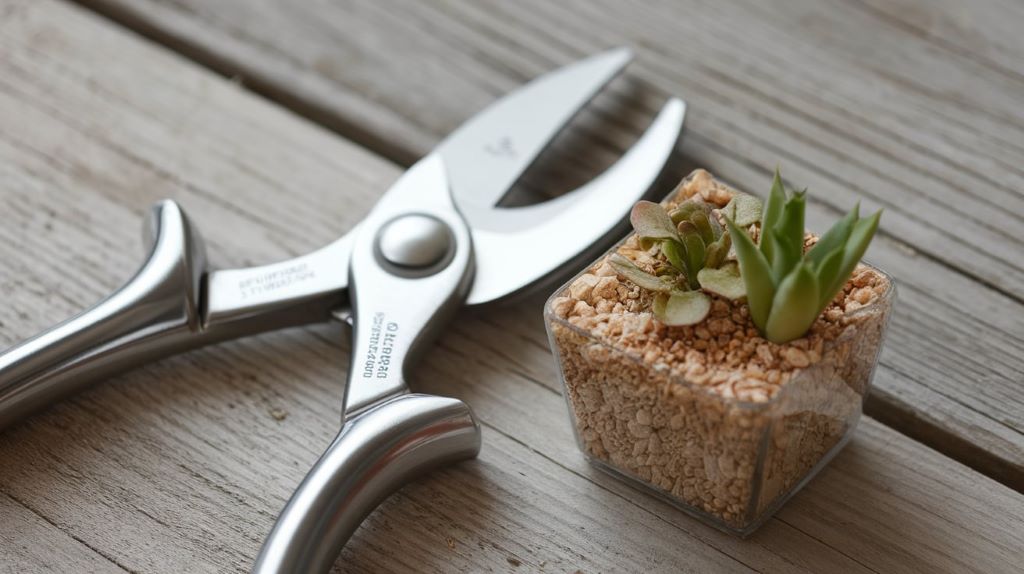
- Scissors or garden shears
- Small trowel or scoop
- Spray bottle for irrigation
- Long tweezers for precise plant placement
- Level for proper frame mounting
- Pencil and paper for design planning
- Camera to document progress
Construction Process
Building the Frame
For a basic wooden frame with hardware cloth:
- Cut lumber to desired dimensions (cedar or redwood resist rot)
- Assemble frame with weather-resistant screws
- Apply waterproof sealant to wood (if using outdoors)
- Cut hardware cloth to fit frame interior
- Staple hardware cloth to back of frame
- Add cross-supports for larger frames to prevent bowing
Creating the Planting Surface
- Cut landscape fabric to overlap frame edges by 2-3 inches
- Secure fabric to back of frame with staples
- Add a layer of sphagnum moss against the landscape fabric
- Create a soil barrier by mixing cactus soil with water and a small amount of water-retaining polymer
- Press this mixture against the moss layer to form a 1-2 inch base
- Allow this base layer to partially dry before planting
Planting Techniques
- Preparation:
- Lay frame flat on a work surface
- Have plants removed from pots and roots gently cleaned
- Group plants according to your design plan
- Planting Process:
- Create holes in the soil medium for each plant
- Insert plants through the wire mesh, positioning roots against the soil layer
- Secure larger plants with floral pins if necessary
- Work from the bottom up to prevent disturbing earlier plantings
- Pack additional soil mix around roots as needed
- Establishment Period:
- Keep frame horizontal for 2-4 weeks to allow root establishment
- Mist regularly but avoid overwatering
- Place in appropriate light conditions but not direct sun initially
- Rotate frame 90 degrees weekly to encourage even growth
Mounting and Installation
Indoor Mounting Options
- Wall Anchors:
- Use appropriate anchors based on wall material (drywall, concrete, etc.)
- Ensure anchors can support the fully saturated weight (which can be substantial)
- Install a moisture barrier between frame and wall
- Freestanding Displays:
- Create a base that allows the frame to stand independently
- Position away from walls to prevent moisture damage
- Consider a slight backward tilt for stability
- Hanging Systems:
- Use heavy-duty picture hanging hardware
- Distribute weight across multiple anchor points
- Consider cable systems for larger installations
Outdoor Installation Considerations
- Weather Protection:
- Install with slight overhang protection if possible
- Consider seasonal exposure changes
- Provide wind protection for establishing plants
- Structural Support:
- Attach to studs or structural elements, not just siding
- Use corrosion-resistant hardware
- Create standoffs to allow airflow behind the frame
- Drainage Management:
- Position to prevent runoff from damaging building surfaces
- Consider a catchment system for excess water
- Ensure drainage doesn’t create erosion issues
Irrigation Systems
Manual Watering Techniques
For smaller displays:
- Use a misting bottle for gentle, controlled application
- Water when the growing medium feels dry to touch
- Apply water until slight moisture appears at drainage points
- Reduce frequency during dormant seasons
Automated Systems
For larger or less accessible installations:
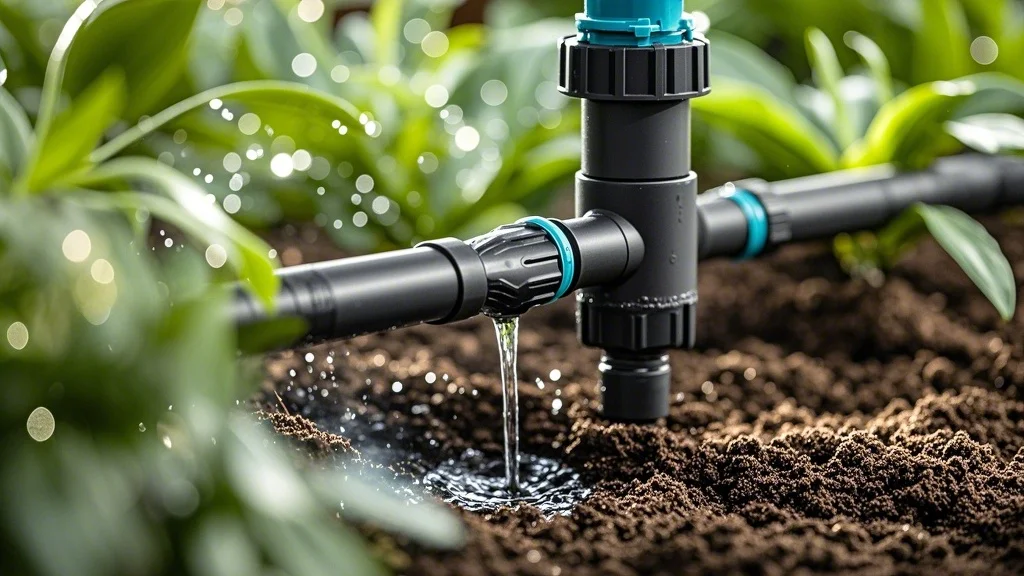
- Drip Irrigation:
- Install micro-tubing along the top of the frame
- Position emitters to distribute water evenly
- Connect to timer for consistent application
- Adjust seasonally for changing water needs
- Misting Systems:
- Create a fine spray that mimics natural fog
- Ideal for varieties that absorb moisture through leaves
- Program for brief, frequent applications
- Requires filtration to prevent clogging
- Recirculating Systems:
- Collect and reuse drainage water
- Incorporate a small pump and reservoir
- Add fertilizer directly to the reservoir when needed
- Monitor for water quality issues
Maintenance and Care
Seasonal Considerations
Spring/Summer Care:
- Increase watering frequency during active growth
- Apply diluted fertilizer monthly
- Monitor for pests more frequently
- Provide shade during extreme heat periods
Fall/Winter Care:
- Reduce watering significantly
- Discontinue fertilization
- Protect outdoor installations from frost
- Move portable displays to protected locations if necessary
Pruning and Grooming
- Remove dead or damaged leaves promptly
- Trim leggy growth to maintain compact form
- Harvest and replant offsets to fill bare spots
- Prune flowering stalks after blooming
Pest and Disease Management
Common issues and solutions:
- Mealybugs:
- Identify by white cottony masses
- Remove with alcohol-dipped cotton swabs
- Apply insecticidal soap for larger infestations
- Scale Insects:
- Look for small brown bumps on stems
- Scrape off gently with soft brush
- Treat with horticultural oil if widespread
- Root Rot:
- Caused by overwatering or poor drainage
- Remove affected plants immediately
- Improve ventilation and reduce watering
- Replace growing medium if necessary
- Sunburn:
- Appears as brown or white patches
- Provide temporary shade
- Gradually acclimate plants to higher light levels
Refreshing and Replanting
Every 2-3 years:
- Remove frame from wall
- Replace deteriorated backing materials
- Refresh growing medium
- Replace overgrown or struggling plants
- Consider redesigning the arrangement for new visual interest
Creative Design Ideas
Thematic Arrangements
- Color Gradient Walls:
- Arrange succulents in a spectrum from one color to another
- Create ombré effects with varieties of similar shapes
- Transition from greens to blues, purples, or reds
- Geometric Patterns:
- Use contrasting colors to create shapes and designs
- Incorporate straight lines, circles, or repeating motifs
- Plan patterns that will remain visible as plants grow
- Living Monograms or Logos:
- Design recognizable shapes or letters
- Use slow-growing varieties to maintain definition
- Consider frame shapes that enhance the design concept
Combining with Other Elements
- Integrated Lighting:
- Install small LED strips to highlight textures
- Create dramatic evening displays
- Use solar-powered options for outdoor installations
- Water Features:
- Incorporate small drip walls for sound and humidity
- Create contrast between wet and dry elements
- Ensure water flow doesn’t oversaturate succulents
- Mixed Media:
- Incorporate driftwood, stones, or decorative elements
- Add air plants (Tillandsia) for textural contrast
- Include small mirrors to reflect light and create depth
Troubleshooting Common Issues
Plant Health Problems
- Etiolation (Stretching):
- Symptom: Plants become leggy with increased space between leaves
- Cause: Insufficient light
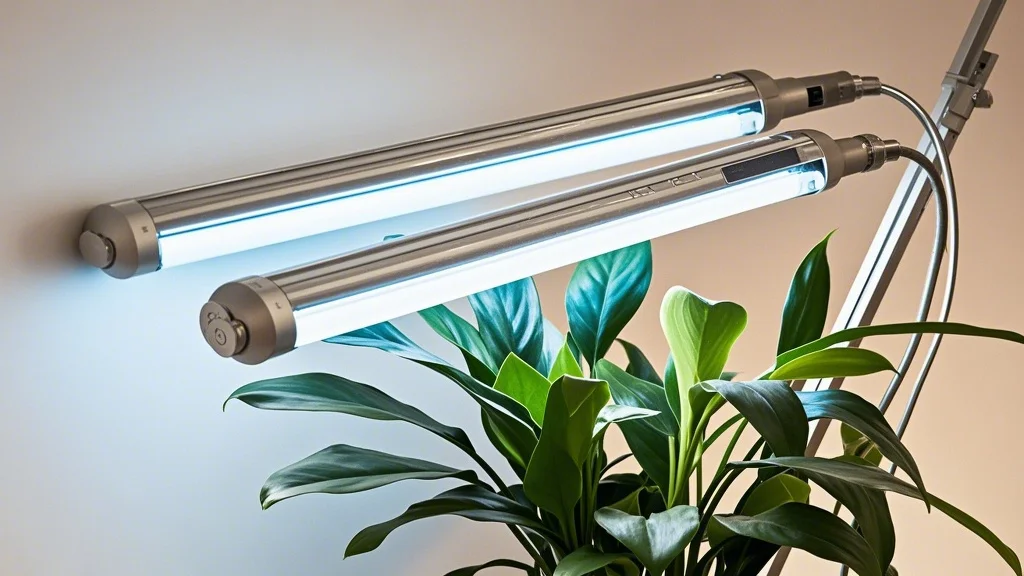
- Solution: Relocate to brighter position or add supplemental lighting
- Leaf Drop:
- Symptom: Plants shed healthy-looking leaves
- Cause: Often overwatering or temperature shock
- Solution: Adjust watering schedule and protect from extreme temperatures
- Color Loss:
- Symptom: Plants lose vibrant coloration
- Cause: Typically insufficient light or improper fertilization
- Solution: Increase light exposure and adjust nutrient levels
Structural Issues
- Soil Erosion:
- Symptom: Growing medium washing away during watering
- Cause: Insufficient backing material or too forceful watering
- Solution: Add more landscape fabric layers or adjust watering technique
- Frame Warping:
- Symptom: Wood frame bending or twisting
- Cause: Moisture absorption or insufficient support
- Solution: Add cross-bracing and improve waterproofing
- Plant Slippage:
- Symptom: Plants sliding out of position
- Cause: Insufficient root establishment or gravity
- Solution: Use floral pins temporarily and allow longer horizontal establishment
Conclusion
Creating a succulent wall is both an artistic endeavor and a horticultural challenge that rewards patience and creativity. These living installations transform ordinary spaces into extraordinary displays while embracing sustainable, water-wise gardening principles. By carefully selecting appropriate varieties, constructing a solid foundation, and implementing proper care routines, your vertical succulent garden will evolve into a stunning focal point that captures attention and sparks conversation.
Whether you’re a seasoned succulent enthusiast or a curious beginner, vertical gardening offers a new dimension to explore. Start small, experiment with different combinations, and document your journey as your living wall develops its unique character. With time, your succulent wall will not only showcase the remarkable diversity of these drought-tolerant plants but also reflect your personal aesthetic and commitment to innovative gardening approaches.
The beauty of succulent walls lies in their ever-changing nature—a dynamic canvas that grows and transforms with minimal intervention. Embrace this evolution, learn from challenges, and celebrate the resilient nature of these remarkable plants as they create a drought-tolerant masterpiece on your vertical spaces.

