The rubber plant (Ficus elastica) has become a staple in urban homes, beloved for its glossy, leathery leaves and striking presence. Native to Southeast Asia, this member of the fig family can grow into a substantial indoor tree, making it perfect for apartment dwellers looking to add a dramatic touch to their space. With proper care, a rubber plant can thrive for decades, growing from a modest tabletop plant into a magnificent floor specimen that becomes the focal point of any room.
Whether you’re drawn to the classic deep green variety or one of the variegated cultivars like ‘Tineke’ or the burgundy ‘Burgundy’, this guide will help you provide optimal care for your rubber plant and troubleshoot common issues that might arise.
Contents
- 1 Rubber Plant Varieties
- 2 Light Requirements
- 3 Watering Your Rubber Plant
- 4 Humidity and Temperature
- 5 Soil and Potting
- 6 Fertilizing Your Rubber Plant
- 7 Pruning and Maintenance
- 8 Propagation
- 9 Common Problems and Solutions
- 10 Toxicity Considerations
- 11 Seasonal Care Tips
- 12 Styling and Decorating with Rubber Plants
- 13 Conclusion
Rubber Plant Varieties
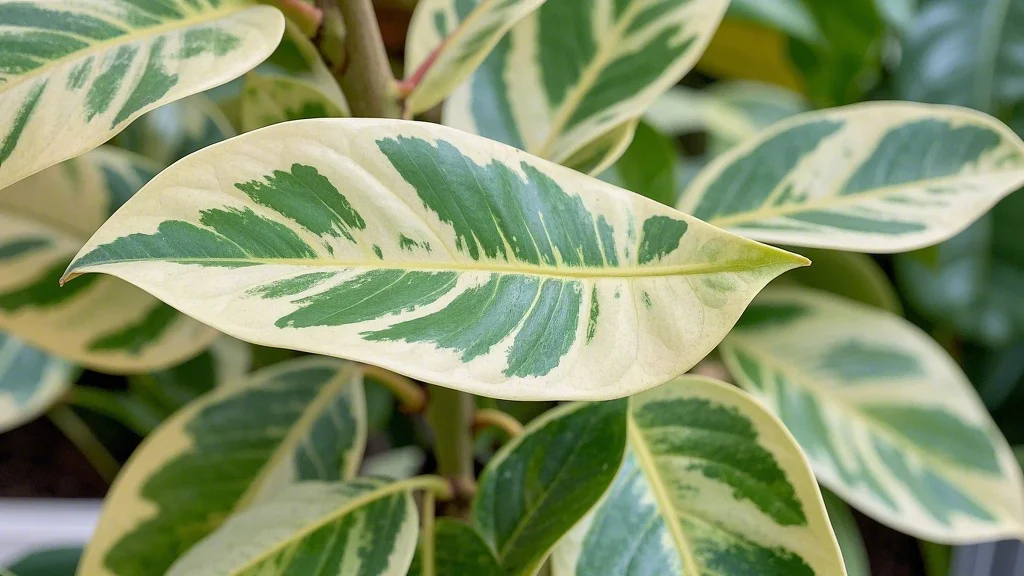
Before diving into care specifics, it’s worth exploring some popular rubber plant varieties you might encounter:
- Ficus elastica ‘Robusta’: The classic rubber plant with large, glossy dark green leaves
- Ficus elastica ‘Burgundy’: Features stunning deep burgundy to almost black foliage
- Ficus elastica ‘Tineke’: Displays variegated cream and green leaves
- Ficus elastica ‘Ruby’: Shows off pink, cream, and green variegation
- Ficus elastica ‘Decora’: Has broader, thicker leaves than the standard variety
Light Requirements
Rubber plants are adaptable, but they have definite preferences when it comes to light exposure.
Optimal Light Conditions
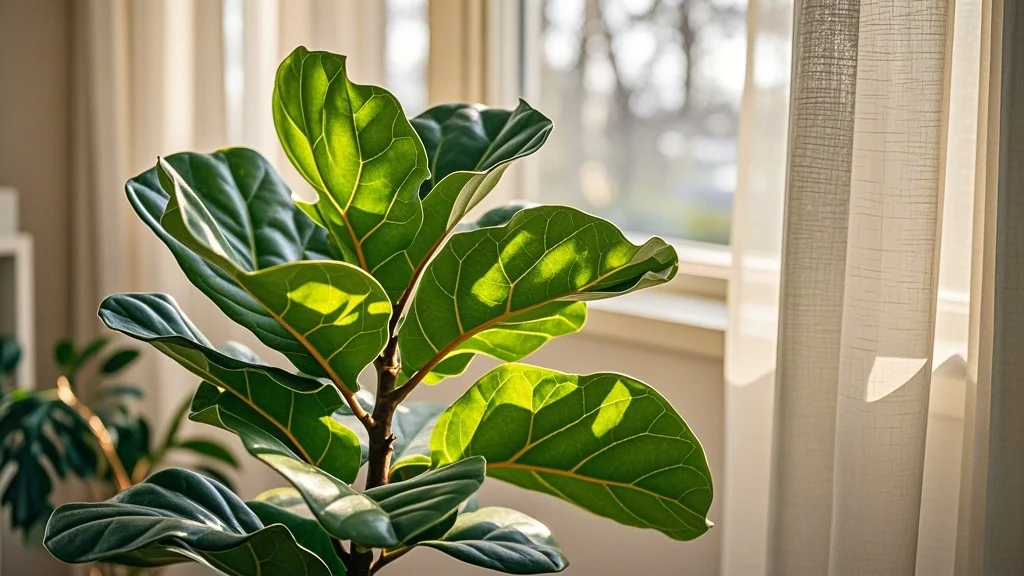
Rubber plants thrive in bright, indirect light. A spot near an east-facing window is ideal, providing gentle morning sun without the harsh afternoon rays. They can also do well a few feet away from south or west-facing windows, where direct sunlight is filtered through a sheer curtain.
Light Considerations
- Too little light: In low light conditions, rubber plants will grow slowly and may become leggy as they stretch toward light sources. New leaves may be smaller and less vibrant.
- Too much light: Direct sunlight, especially during summer months, can scorch the leaves, causing brown patches.
- Variegated varieties: Cultivars with cream, white, or pink variegation require brighter light than solid green varieties to maintain their distinctive coloration.
Seasonal Adjustments
During winter months when sunlight is less intense, you may need to move your rubber plant closer to a window. Conversely, in summer, you might need to provide some protection from intense afternoon sun.
Watering Your Rubber Plant
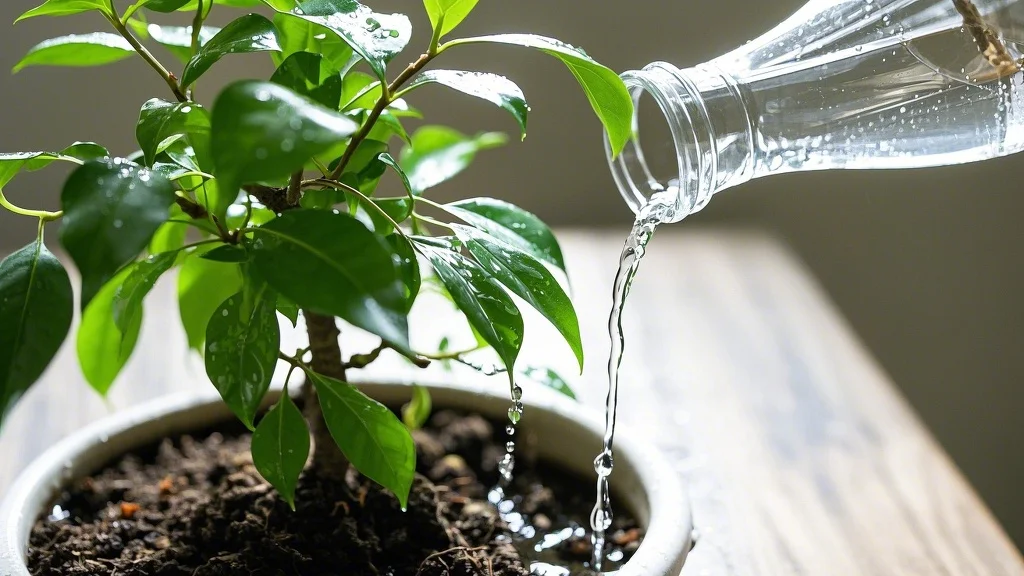
Proper watering is crucial for rubber plant health, and finding the right balance is key to preventing common issues.
Watering Schedule
Rubber plants prefer to dry out slightly between waterings. A good rule of thumb:
- Spring and summer: Water when the top 1-2 inches of soil feel dry to the touch
- Fall and winter: Reduce watering frequency, allowing the soil to dry out about halfway down the pot
Watering Technique
When it’s time to water, do so thoroughly until water flows from the drainage holes. This ensures the entire root ball receives moisture. Always discard excess water from the saucer to prevent root rot.
Signs of Improper Watering
- Underwatering: Leaves become dull, limp, and may develop brown edges
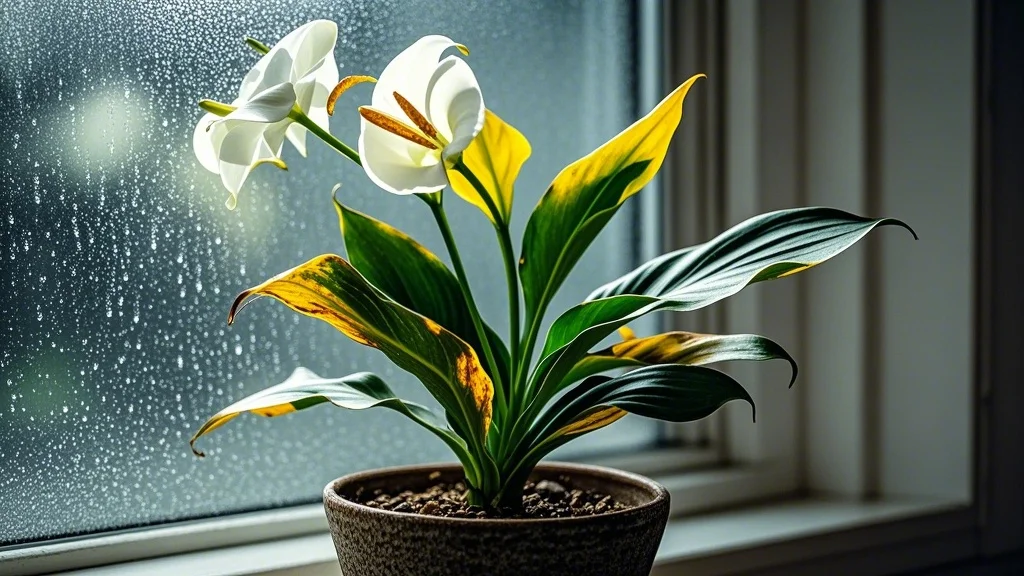
- Overwatering: Lower leaves turn yellow and may drop; soil might smell musty
Water Quality
Rubber plants aren’t particularly sensitive to water quality, but if your tap water is heavily chlorinated or contains high mineral content, consider using filtered water or allowing tap water to sit out overnight before using.
Humidity and Temperature
As tropical natives, rubber plants have specific preferences regarding their atmospheric conditions.
Humidity Needs
While rubber plants can adapt to average household humidity, they prefer higher humidity levels of 40-60%. In dry environments, especially during winter when heating systems reduce indoor humidity, consider these methods to increase moisture:
- Group with other plants to create a microclimate
- Place on a pebble tray with water (ensuring the pot doesn’t sit directly in water)
- Use a humidifier nearby during particularly dry periods
Temperature Range
Rubber plants thrive in temperatures between 60-80°F (15-27°C). They can tolerate brief periods outside this range but will show stress with prolonged exposure to temperatures below 55°F (13°C) or above 85°F (29°C).
Avoiding Drafts
Keep rubber plants away from cold drafts, air conditioning vents, and heating sources, which can cause temperature fluctuations and stress the plant.
Soil and Potting
The right growing medium provides the foundation for a healthy rubber plant.
Ideal Soil Mix
Rubber plants need well-draining soil that retains some moisture. A good mix includes:
- 2 parts quality potting soil
- 1 part perlite or pumice
- 1 part coco coir or peat moss
Alternatively, a pre-mixed indoor plant or aroid soil works well.
Pot Selection
Choose a pot with drainage holes that’s about 1-2 inches larger than the current root ball. Terracotta pots work particularly well as they allow soil to dry more evenly, reducing the risk of overwatering.
Repotting
Rubber plants typically need repotting every 1-2 years, or when:
- Roots are circling the bottom of the pot or emerging from drainage holes
- Growth has slowed despite proper care
- The plant becomes top-heavy and unstable
The best time to repot is during spring or early summer when the plant is actively growing.
Fertilizing Your Rubber Plant
Proper nutrition supports healthy growth and vibrant foliage.
Fertilizer Type
Use a balanced liquid fertilizer diluted to half the recommended strength. Look for formulations with an NPK ratio around 3-1-2 or a standard houseplant fertilizer.
Fertilizing Schedule
- Growing season (spring through early fall): Apply fertilizer once a month
- Dormant period (late fall and winter): Reduce or eliminate fertilizing
Application Tips
- Always apply fertilizer to moist soil to prevent root burn
- Flush the soil thoroughly every few months to prevent salt buildup
- If your plant is in low light conditions, reduce fertilizer frequency as growth will be slower
Pruning and Maintenance
Regular maintenance keeps your rubber plant looking its best and encourages bushier growth.
Pruning Objectives
- Control size and shape
- Remove damaged or diseased foliage
- Encourage branching and fuller growth
- Propagate new plants
Pruning Technique
When pruning, use clean, sharp pruning shears and make cuts just above a leaf node. Wear gloves to protect your skin from the milky sap, which can cause skin irritation in sensitive individuals.
Leaf Cleaning
Rubber plants’ large leaves collect dust easily, which can reduce their ability to photosynthesize efficiently. Wipe leaves gently with a damp cloth every few weeks. For extra shine, you can use a drop of neem oil on your cloth, which also helps deter pests.
Supporting Tall Plants
As rubber plants grow taller, they may need support. A moss pole or sturdy stake can help maintain an upright growth habit, especially for plants in locations with less than ideal light that might grow leggy.
Propagation
Propagating rubber plants is relatively straightforward and provides an excellent way to expand your collection or share with friends.
Stem Cuttings
- Select a healthy stem with at least two leaves
- Make a clean cut below a node
- Allow the cut end to dry and callus for a few hours
- Place in water or moist soil
- Keep warm and in bright, indirect light
- Roots typically develop within 3-6 weeks
Air Layering
For larger plants or when you want to propagate while maintaining the parent plant’s appearance:
- Make a small incision in the stem where you want roots to form
- Apply rooting hormone to the wound
- Wrap moist sphagnum moss around the area
- Cover with plastic wrap to retain moisture
- Once roots are visible through the moss (usually 4-8 weeks), cut below the rooted section and pot up
Common Problems and Solutions
Even with proper care, rubber plants can encounter issues. Here’s how to identify and address them.
Pest Problems
- Spider mites: Tiny pests that cause stippling on leaves. Treat with insecticidal soap or neem oil, focusing on leaf undersides.
- Mealybugs: White, cottony insects that cluster in leaf axils. Remove with alcohol-dipped cotton swabs and treat with insecticidal soap.
- Scale: Small, brown, shell-like insects that attach to stems and leaves. Scrape off gently and apply horticultural oil.
Disease Issues
- Root rot: Caused by overwatering or poor drainage. Remove affected roots, repot in fresh soil, and adjust watering practices.
- Leaf spot: Fungal infection causing brown spots with yellow halos. Remove affected leaves, improve air circulation, and avoid wetting foliage.
Environmental Issues
- Leaf drop: Often caused by sudden temperature changes, drafts, or relocation shock. Stabilize conditions and give the plant time to adjust.
- Brown leaf edges: Usually indicates low humidity or inconsistent watering. Increase humidity and establish a regular watering routine.
- Leggy growth: Results from insufficient light. Move to a brighter location and consider pruning to encourage fuller growth.
Toxicity Considerations
Rubber plants contain latex, a milky sap that can cause skin irritation in sensitive individuals and mild to moderate toxicity if ingested.
Safety Precautions
- Keep plants away from children and pets who might chew on leaves
- Wear gloves when pruning or propagating
- Wash hands thoroughly after handling the plant, especially if you’ve come in contact with the sap
- If ingested, contact a poison control center or seek medical advice
Seasonal Care Tips
Adjusting your care routine throughout the year helps your rubber plant thrive in changing conditions.
Spring and Summer
- Increase watering as growth accelerates
- Begin regular fertilization
- Monitor for new growth and pests, which become more active in warmer weather
- Consider moving outdoors to a sheltered, shady location if temperatures permit
Fall and Winter
- Reduce watering frequency as growth slows
- Stop or significantly reduce fertilization
- Move away from cold windows and drafts
- Supplement with grow lights if natural light decreases significantly
- Monitor humidity levels as heating systems can dry indoor air
Styling and Decorating with Rubber Plants
Rubber plants make striking additions to interior spaces and can be styled in various ways.
Design Considerations
- As focal points: Large specimens work well as standalone statement pieces in living rooms or entryways
- In plant groupings: Pair with plants of contrasting textures like ferns or snake plants
- Elevation: Place smaller specimens on plant stands or shelves to create visual interest at different heights
- Containers: Choose pots that complement your decor—minimalist white or concrete for modern spaces, terracotta or woven baskets for bohemian styles
Growth Management
If you prefer to keep your rubber plant at a specific size:
- Regular pruning can maintain height
- Root pruning during repotting can limit growth
- Providing slightly less than optimal light will slow growth
Conclusion
The rubber plant’s combination of dramatic presence and relatively straightforward care requirements makes it an excellent choice for intermediate plant owners looking to add a touch of the tropics to their urban dwelling. By providing appropriate light, consistent watering, and occasional maintenance, you’ll be rewarded with a stunning specimen that can become a long-lived fixture in your home.
Remember that each plant is unique, and part of the joy of plant parenthood is learning to read your specific plant’s needs. Pay attention to how your rubber plant responds to your care routine, and don’t be afraid to make adjustments as needed. With patience and attention, your Ficus elastica can thrive for many years, growing alongside you in your plant journey.
Happy growing!

