Aloe vera is one of the most practical houseplants you can grow, offering both aesthetic appeal and genuine medicinal benefits. This striking succulent with its thick, fleshy leaves filled with healing gel has been used for thousands of years to treat everything from minor burns to skin irritations.
Difficulty Level: ★★☆☆☆ (Easy to Moderate)
For urban dwellers with limited space and time, aloe vera is an ideal choice. It requires minimal attention, tolerates some neglect, and still rewards you with a beautiful plant that doubles as a living first-aid kit. Whether you’re a beginner looking for a forgiving plant or a health enthusiast wanting to harvest your own aloe gel, this guide will help you grow a thriving aloe vera plant in your home.
Contents
Basic Information Overview
Scientific Name: Aloe barbadensis miller
Origin: Native to North Africa, the Canary Islands, and parts of the Arabian Peninsula
Plant Type: Succulent
Size: Typically grows 1-2 feet tall and wide indoors
Toxicity: Mildly toxic to pets if ingested (skin irritation and digestive upset)
Benefits: Contains medicinal gel used for burns, skin conditions, and minor wounds
Lifespan: Long-lived perennial, can survive for decades with proper care
Growth Rate: Moderate
Quick Care Guide
| Factor | Requirements |
|---|---|
| Light | Bright, indirect light; some direct morning sun beneficial |
| Water | Allow soil to dry completely between waterings; less in winter |
| Humidity | Low to average; tolerates dry air well |
| Temperature | 55-80°F (13-27°C); protect from frost |
| Soil | Well-draining cactus/succulent mix |
| Fertilizer | Diluted succulent fertilizer 1-2 times during growing season |
| Repotting | Every 2-3 years or when outgrowing container |
| Propagation | Offsets (pups) that grow from the base |
Detailed Care Instructions
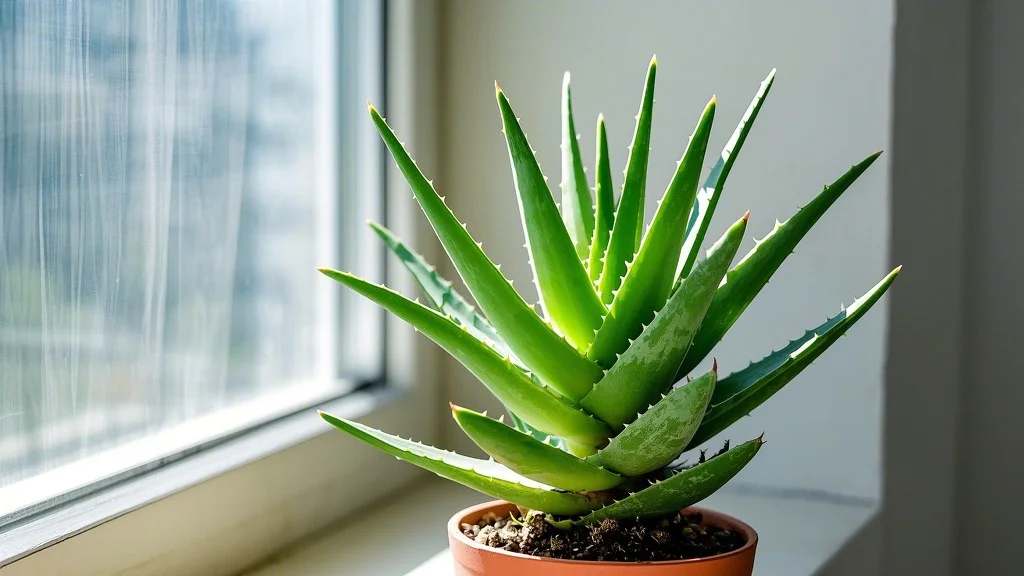
Light Requirements: Finding the Perfect Balance
Aloe vera thrives in bright, indirect light, making it well-suited for urban apartments. While many sources simply recommend “bright light,” understanding the nuances of aloe’s light requirements will help your plant truly flourish.
Ideal Placement:
- South or west-facing windows provide the perfect amount of light in most Northern Hemisphere locations
- East-facing windows work well but may require the plant to be placed closer to the window
- North-facing windows typically don’t provide enough light unless supplemented
Signs of Improper Light:
- Too much direct sun: Leaves turn yellowish or brown, appear “sunburned” with dry patches
- Too little light: Plant becomes leggy, pale green, and stretches toward light sources
For apartment dwellers with limited natural light, aloe vera responds well to grow lights. A simple LED grow light positioned 12-18 inches above your plant for 6-8 hours daily can supplement natural light effectively.
Seasonal Adjustments:
During winter months when sunlight is less intense, move your aloe closer to windows or increase supplemental lighting. In summer, you may need to pull it back slightly from south-facing windows or provide light shade during the hottest part of the day.
Watering: The Art of Restraint
The number one cause of aloe vera death is overwatering. As a desert plant, aloe has evolved to store water in its fleshy leaves and survive long periods of drought.
The Soak and Dry Method:
- Water thoroughly until water flows from drainage holes
- Allow soil to dry completely between waterings (typically 2-3 weeks)
- Insert your finger or a wooden stick 2 inches into the soil to check for moisture
- Reduce watering frequency by half during winter months
Seasonal Watering Schedule:
- Spring/Summer: Water every 2-3 weeks when actively growing
- Fall/Winter: Water every 4-6 weeks during dormancy
Signs of Watering Issues:
- Overwatering: Soft, mushy leaves, often turning translucent; base of plant may blacken (root rot)
- Underwatering: Leaves become thin, curled, and concave; tips may brown
Pro Tip: Use a terracotta pot rather than plastic, as it allows soil to dry more quickly and reduces the risk of overwatering.
Soil and Potting: Creating the Perfect Foundation
Aloe vera requires excellent drainage to prevent root rot. Standard potting soil holds too much moisture and will eventually kill your plant.
Ideal Soil Mix:
- 2 parts coarse sand or perlite
- 1 part cactus/succulent potting mix
- 1 part regular potting soil (optional, for slightly more water retention)
DIY Soil Recipe:
Mix 1 cup perlite, 2 cups coarse sand, and 1 cup regular potting soil for a perfect aloe vera growing medium.
Container Requirements:
- Always choose pots with drainage holes
- Terracotta or unglazed clay pots are ideal as they wick away excess moisture
- Select a pot only 1-2 inches larger than the root ball when repotting
Common Problems and Solutions
1. Root Rot
Symptoms:
- Base of plant turns black or brown
- Leaves become soft and mushy
- Foul smell from soil
- Plant becomes unstable in pot
Solutions:
- Remove plant from soil and inspect roots
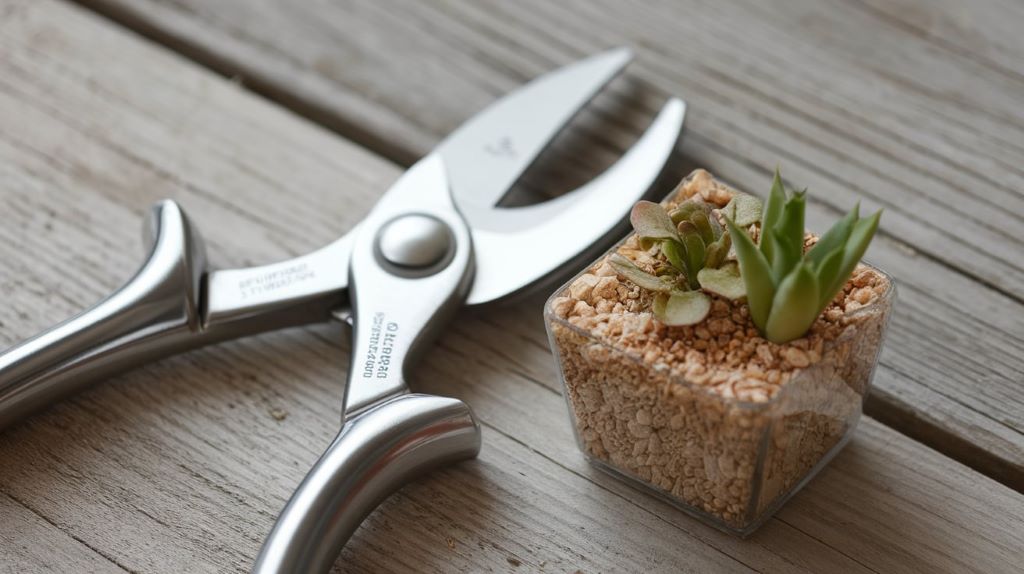
- Cut away any black, mushy roots with sterilized scissors
- Allow cut areas to callus for 24 hours
- Repot in fresh, well-draining soil
- Hold off on watering for 1-2 weeks to allow roots to recover
Prevention:
- Use well-draining soil
- Water only when soil is completely dry
- Ensure pot has adequate drainage holes
2. Leaf Discoloration
Symptoms and Causes:
- Brown tips: Underwatering or too much direct sun
- Yellow leaves: Overwatering or insufficient light
- Pale, washed-out color: Too much direct sunlight
Solutions:
- Adjust watering schedule based on symptoms
- Reposition plant for optimal light exposure
- Remove severely damaged leaves at the base using clean scissors
- Monitor new growth for improvement
3. Pest Infestations
While generally pest-resistant, aloe vera can occasionally attract mealybugs and scale insects.
Symptoms:
- White, cotton-like clusters (mealybugs)
- Brown bumps on leaves (scale)
- Sticky residue on leaves or surrounding surfaces
Solutions:
- Isolate infected plant from other houseplants
- Wipe leaves with alcohol-soaked cotton swab
- Spray with insecticidal soap or neem oil solution
- For severe infestations, repot with fresh soil after treating
Buying Guide and Essential Supplies
Selecting a Healthy Aloe Vera Plant
When purchasing an aloe vera plant, look for these qualities:
- Thick, plump leaves with a blue-green or gray-green color
- No signs of damage, mushy spots, or discoloration
- Firm attachment to the base with no wobbling
- Multiple leaves growing from a central point
- Small offsets (pups) are a bonus, indicating a healthy plant
Where to Buy: Local nurseries often have healthier specimens than big box stores. For apartment dwellers, specialty plant shops in urban areas typically offer high-quality aloe plants.
Essential Supplies for Aloe Vera Care
- Well-draining pot:
- Terracotta pot with drainage hole, 6-8 inches diameter
- [OwnGardens Recommendation: Classic Terracotta Pot Set with Drainage Holes]
- Proper soil mix:
- Cactus/succulent potting mix
- Perlite or coarse sand for improved drainage
- [OwnGardens Recommendation: Premium Cactus & Succulent Soil Blend]
- Watering tools:
- Moisture meter to check soil dampness
- Small watering can with narrow spout for precise watering
- [OwnGardens Recommendation: Indoor Plant Moisture Meter]
- Light supplementation (if needed):
- LED grow light for low-light apartments
- [OwnGardens Recommendation: Adjustable LED Grow Light for Indoor Plants]
- Harvesting and maintenance tools:
- Sharp, clean scissors or knife for harvesting gel
- Small brush for cleaning dust from leaves
- [OwnGardens Recommendation: Plant Care Tool Set]
Harvesting and Using Aloe Vera Gel
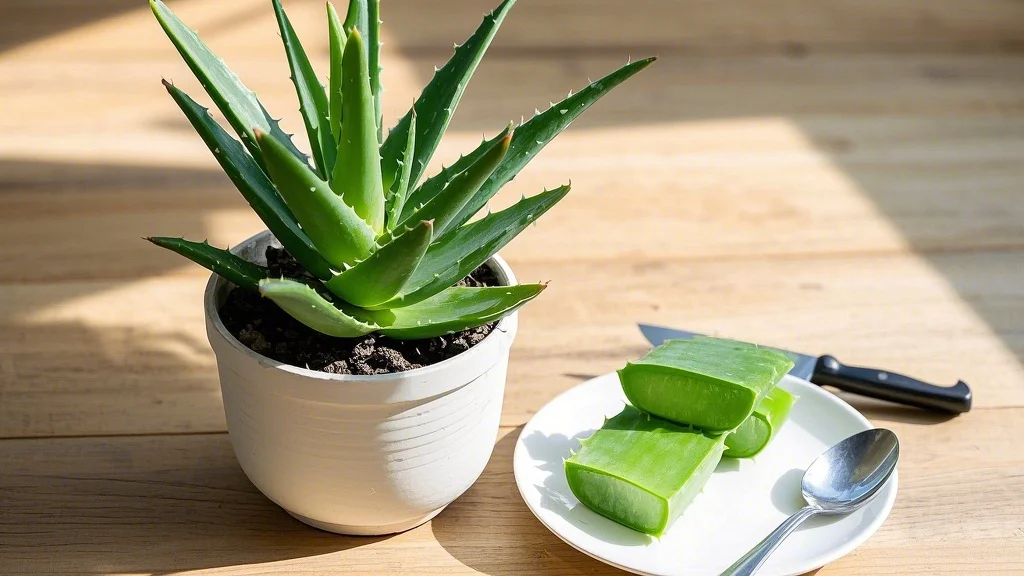
One of the greatest benefits of growing aloe vera is having access to fresh healing gel whenever you need it.
Harvesting Method:
- Select a mature leaf from the outer portion of the plant (at least 8 inches long)
- Cut the leaf at the base using clean, sharp scissors or a knife
- Place the cut leaf upright in a cup for 15 minutes to drain the yellow latex (which can be irritating)
- Rinse the leaf and lay it flat on a cutting board
- Trim the serrated edges with a knife
- Carefully slice the leaf open lengthwise to expose the gel
- Use a spoon to scoop out the clear gel
- Rinse the gel to remove any remaining latex
Uses for Fresh Aloe Gel:
- Skin burns: Apply directly to minor burns or sunburn for cooling relief
- Skin irritation: Use
- Face mask: Mix with a drop of vitamin E oil for a hydrating mask
- Hair conditioner: Apply to scalp and hair for 30 minutes before shampooing
- Wound healing: Apply to minor cuts and scrapes to promote healing
Storage Tip: Fresh aloe gel can be stored in the refrigerator for up to one week in an airtight container.
Frequently Asked Questions
How often should I repot my aloe vera?
Aloe vera plants typically need repotting every 2-3 years. Signs that your plant needs repotting include roots growing through drainage holes, soil that dries out too quickly, or the plant becoming top-heavy and unstable. When repotting, choose a container only 1-2 inches larger than the current pot to prevent overwatering issues.
Why is my aloe vera plant falling over?
An aloe plant falling over usually indicates one of three issues: overwatering causing root rot, insufficient light causing leggy growth, or simply a pot that’s too small for the plant’s size. Check the base of the plant for softness (indicating rot), evaluate your light conditions, and consider repotting if the plant has outgrown its container.
Can I place my aloe vera in the bathroom?
While aloe vera can survive in a bathroom, it’s not ideal unless your bathroom has a very bright window. Aloe needs strong, indirect light for at least 6 hours daily. Additionally, the high humidity in bathrooms can sometimes lead to rot issues for succulents. If your bathroom has a bright window and good air circulation, it can work, but monitor the plant closely.
How do I propagate my aloe vera plant?
The easiest way to propagate aloe vera is by removing the offsets (pups) that grow from the base of the mother plant:
- Wait until the pups are at least 3-4 inches tall
- Remove the mother plant from its pot and gently separate the pups, ensuring each has some roots
- Allow the separated pups to dry for 24 hours (callusing)
- Plant in well-draining succulent soil
- Wait one week before watering to prevent rot
Is the yellow liquid from aloe vera leaves useful?
The yellow liquid (aloin) that seeps from cut aloe leaves is actually a latex that can cause skin irritation and digestive issues if ingested. Unlike the clear inner gel, this yellow substance should be rinsed away before using the gel. Some people use aloin as a laxative, but this is not recommended without medical supervision due to its powerful effects.
Growing aloe vera indoors is a rewarding experience that connects urban dwellers with nature while providing practical benefits. With minimal care requirements and maximum utility, this ancient healing plant deserves a prime spot in your apartment garden. By following the guidelines in this article, you’ll be well on your way to growing a thriving aloe vera plant that can serve both as an attractive houseplant and a living medicine cabinet for years to come.

