Mastering the double-potting method is a game-changer for urban plant enthusiasts. This technique combines the aesthetic appeal of decorative pots with the practicality of nursery pots, offering the best of both worlds. While it may seem simple, proper execution ensures optimal plant health and visual appeal. With practice, you’ll transform your indoor garden into a stunning, low-maintenance oasis.
Contents
Tools and Materials
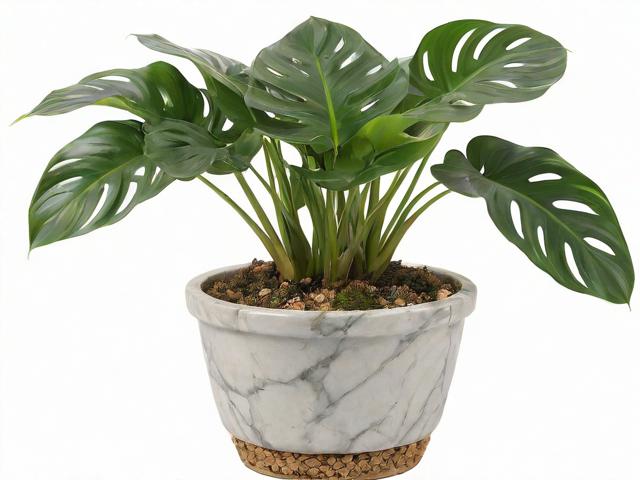
Essential Tools:
- Measuring tape
- Scissors or pruning shears
- Watering can with a narrow spout
- Small trowel
Essential Materials:
- Decorative outer pot (cache pot)
- Nursery pot (slightly smaller than the cache pot)
- Pebbles or activated charcoal
- Potting soil
- Your chosen plant
Optional Alternatives:
- Pot feet or risers
- Humidity tray
- Self-watering insert
Preparation
Time and Space Requirements:
- Time: 15-30 minutes per plant
- Space: A clean, flat surface with good lighting
Safety Precautions:
- Wear gloves to protect your hands
- Work in a well-ventilated area
- Keep materials away from children and pets
Plant Preparation:
- Water the plant 24 hours before repotting
- Inspect for pests or diseases
- Trim any dead or yellowing leaves
Step-by-Step Guide
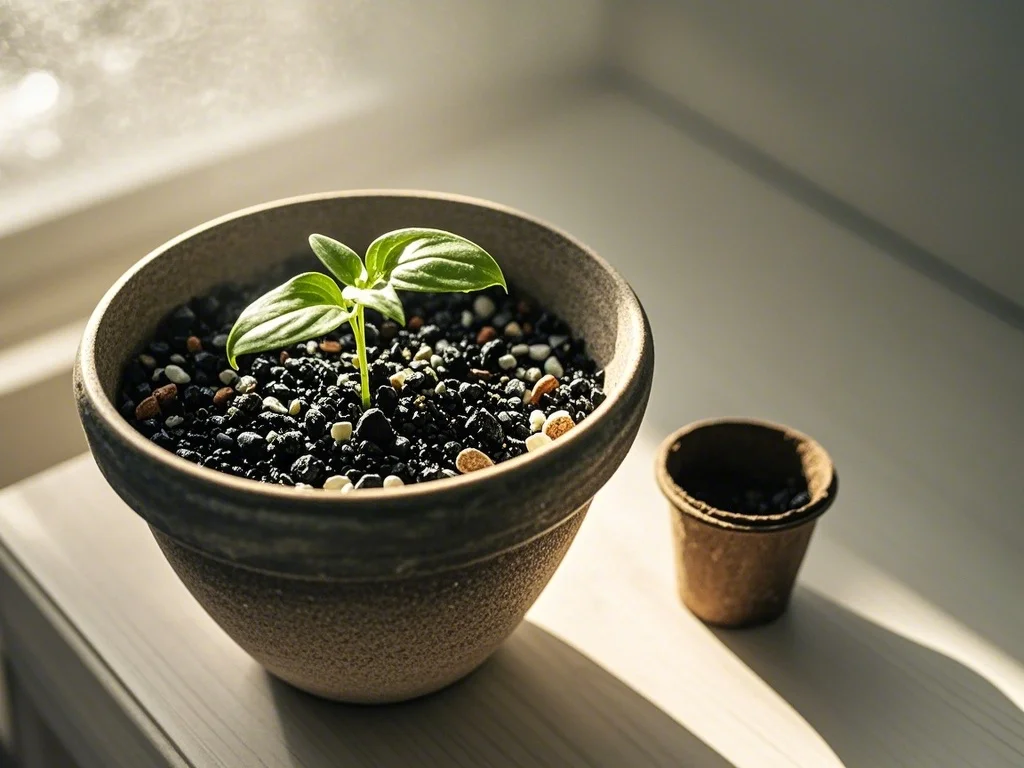
Step 1: Select the Right Pots
- Choose a decorative outer pot that complements your decor.
- Ensure the nursery pot fits inside with at least 1-2 inches of space on all sides.
- Check that both pots have drainage holes.
Step 2: Prepare the Decorative Pot
- Clean the decorative pot thoroughly.
- Add a layer of pebbles or activated charcoal to the bottom (about 1 inch).
- If using pot feet, attach them to the bottom of the decorative pot.
Step 3: Prepare the Nursery Pot
- If reusing an old nursery pot, clean it well.
- Add fresh potting soil to the bottom third of the pot.
- Gently remove the plant from its current container.
- Place the plant in the nursery pot, filling around it with soil.
- Leave about an inch of space at the top for watering.
Step 4: Combine the Pots
- Carefully lower the nursery pot into the decorative pot.
- Ensure it sits level and doesn’t wobble.
- If needed, add more pebbles around the base for stability.
Step 5: Final Touches
- Add a layer of decorative mulch or moss to cover the soil surface.
- If desired, place a humidity tray underneath the decorative pot.
- Water the plant thoroughly, allowing excess to drain.
Troubleshooting and Adjustments
Common Challenges:
- Overwatering: Use a moisture meter to avoid this common issue.
- Unstable pots: Add more pebbles or use pot risers for better stability.
- Algae growth: Ensure proper drainage and air circulation between pots.
Solutions and Adjustments:
- If the nursery pot is too tall, use a plastic spacer in the decorative pot.
- For heavy plants, consider using a lighter plastic cache pot.
- In case of root-bound plants, gently loosen the roots before repotting.
Variations for Different Plant Types:
- Succulents: Use a fast-draining cactus mix and terracotta nursery pots.
- Tropical plants: Add a layer of sphagnum moss for extra humidity.
- Large plants: Use a dolly under the decorative pot for easy moving.
Aftercare
Immediate Care:
- Place the plant in its designated spot, avoiding direct sunlight for a few days.
- Monitor closely for signs of transplant shock.
- Hold off on fertilizing for 2-4 weeks.
Long-term Maintenance:
- Remove the nursery pot when watering to prevent water accumulation.
- Clean the decorative pot monthly to prevent mold and pest issues.
- Repot into a larger nursery pot as the plant grows, keeping the same cache pot.
Signs of Success:
- Healthy new growth
- Stable moisture levels in the soil
- No signs of root rot or pest infestation
Frequently Asked Questions (FAQ)
-
Q: Can I use a decorative pot without drainage holes?
A: It’s not recommended, as it can lead to water accumulation and root rot. If you must, be extra cautious with watering and use a layer of activated charcoal for odor control.
-
Q: How often should I change the nursery pot?
A: Typically every 1-2 years, or when the plant becomes root-bound. The decorative pot can remain the same.
-
Q: Can I use this method for outdoor plants?
A: Yes, but ensure the decorative pot can withstand outdoor conditions and has proper drainage for rain.
-
Q: What’s the best way to hide the rim of the nursery pot?
A: Use decorative moss, pebbles, or a layer of bark chips to cover the gap between the pots.
-
Q: How do I know if my plant needs a bigger nursery pot?
A: Signs include roots growing out of drainage holes, slow growth, or the plant drying out quickly after watering.
Conclusion
Mastering the double-potting method allows you to create a visually stunning indoor garden without compromising plant health. By following these steps – selecting appropriate pots, preparing both containers correctly, and maintaining proper care – you’ll enjoy the best of both worlds: beautiful decor and thriving plants.
Remember the key steps:
- Choose compatible decorative and nursery pots
- Prepare both pots with proper drainage and soil
- Carefully transplant your plant
- Combine the pots with stability in mind
- Maintain regular care, including separate watering practices
Don’t be afraid to experiment with different pot combinations and plant types. With practice, you’ll develop an eye for creating gorgeous, healthy plant displays that elevate your living space. Happy planting!


