For urban dwellers and those living in apartments with limited natural light, growing thriving houseplants can be challenging. Many popular houseplants require more light than north-facing windows or shadowed rooms can provide. However, before investing in artificial grow lights, consider maximizing what you already have through strategic light reflection techniques.
Light reflection can increase available light by 20-50% depending on your setup, turning a low-light corner into a suitable home for medium-light plants. These techniques are particularly valuable during winter months when daylight hours diminish, and they can help prevent leggy, stretched growth that occurs when plants desperately reach for light.
The techniques we’ll cover range from simple mirror placement to more elaborate reflection systems. Most are low-cost, reversible, and can be implemented in a rental without permanent modifications. With proper execution, you’ll notice healthier growth, more vibrant foliage, and potentially even increased flowering in your indoor garden.
Contents
- 1 Tools and Materials Needed
- 2 Preparation
- 3 Step-by-Step Guide
- 4 Common Challenges and Solutions
- 5 Aftercare and Maintenance
- 6 Frequently Asked Questions
- 6.1 Q: Can too much reflected light harm my plants?
- 6.2 Q: How do I know if my reflection techniques are actually working?
- 6.3 Q: Will these techniques work for growing vegetables and herbs indoors?
- 6.4 Q: How do I incorporate reflective elements without making my home look like a grow operation?
- 6.5 Q: Do these techniques work in basement apartments with minimal windows?
- 7 Conclusion
Tools and Materials Needed
Essential Tools:
- Measuring tape
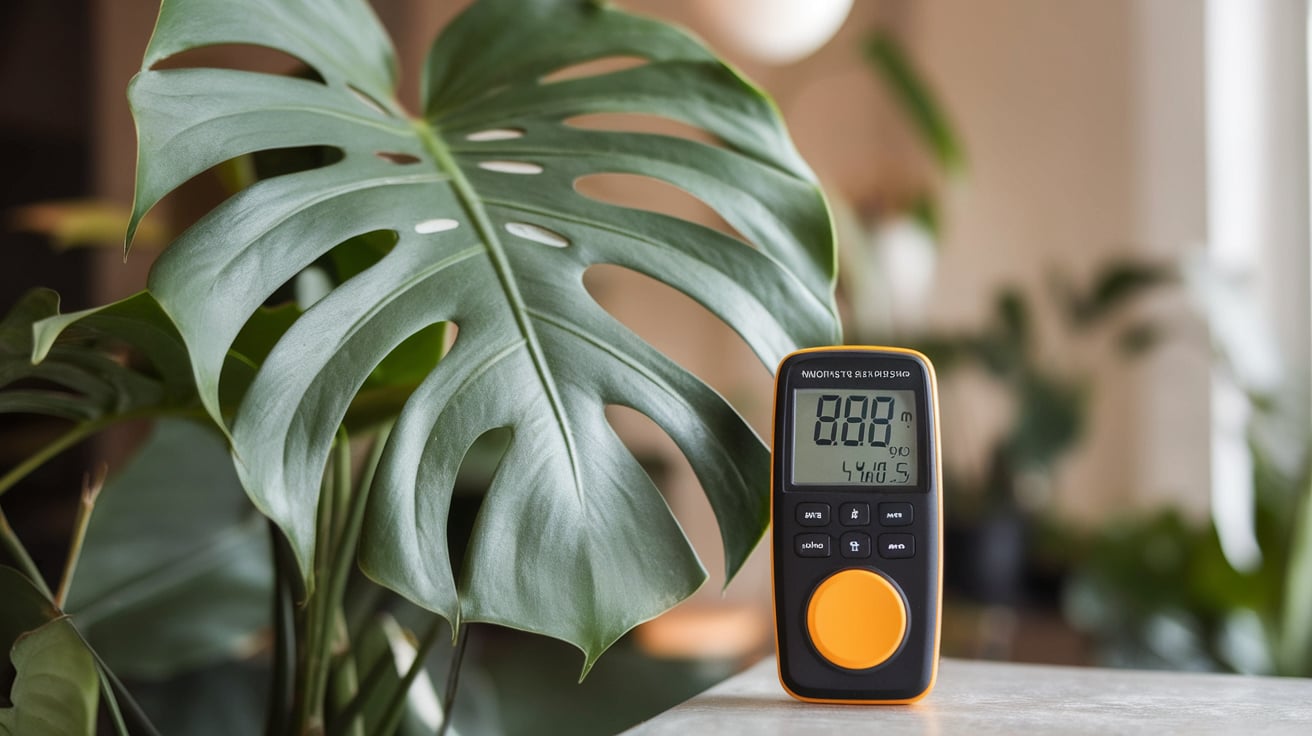
- Light meter or light meter app for smartphone
- Pencil and paper for planning
- Scissors or utility knife
- Double-sided tape or removable adhesive hooks
- Step stool or ladder (for higher placements)
Essential Materials:
- Mirrors (wall-mounted or handheld)
- Reflective film or adhesive reflective paper
- White foam board
- Aluminum foil
- Mylar emergency blankets
Optional Alternatives:
- Metallic paint for DIY reflective surfaces
- White ceramic or glossy decorative items
- Mirrored plant trays
- Reflective plant pots
- White or light-colored curtains/blinds
Preparation
Time and Space Requirements:
- Planning: 1-2 hours to assess light patterns and optimal placement
- Implementation: 2-4 hours depending on the complexity of your setup
- Space needed: Work area near your plants and windows
Safety Considerations:
- Secure all hanging mirrors properly to prevent falling hazards
- Use tempered glass mirrors when possible to reduce breakage risk
- Keep reflective materials away from direct heat sources
- Ensure reflective surfaces don’t create focused beams that could cause burns
Plant Preparation:
- Document your plants’ current condition with photos
- Note leaf color, stem length, and overall health as a baseline
- Clean plant leaves to maximize their ability to absorb light
- Rotate plants to ensure even growth before implementing reflection
Step-by-Step Guide
Step 1: Analyze Your Light Patterns
Detailed Instructions:
- Observe how sunlight enters your space throughout the day. Track sunlight patterns for at least one full day, noting times and locations of direct and indirect light.
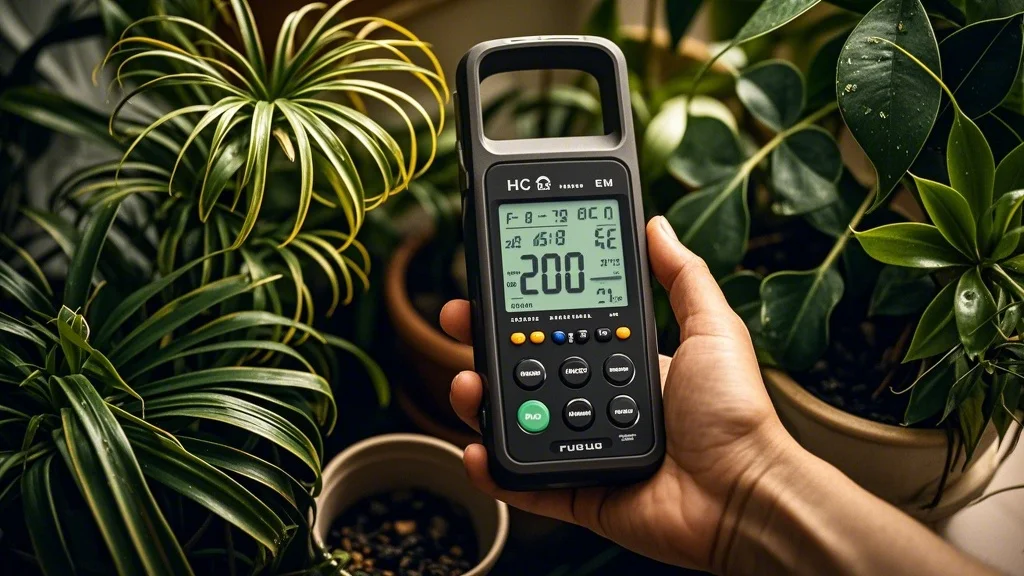
- Use a light meter to measure current light levels in foot-candles (fc) or lux where your plants are located.
- Identify your darkest areas that need the most help and the brightest spots that can serve as light sources.
- Map your space on paper, marking windows, existing plant locations, and potential reflection points.
Helpful Tip: Most houseplants need at least 100-200 fc (1000-2000 lux) for minimum growth. Medium-light plants require 200-500 fc (2000-5000 lux), while high-light plants need 500+ fc (5000+ lux).
Step 2: Strategic Mirror Placement
Detailed Instructions:
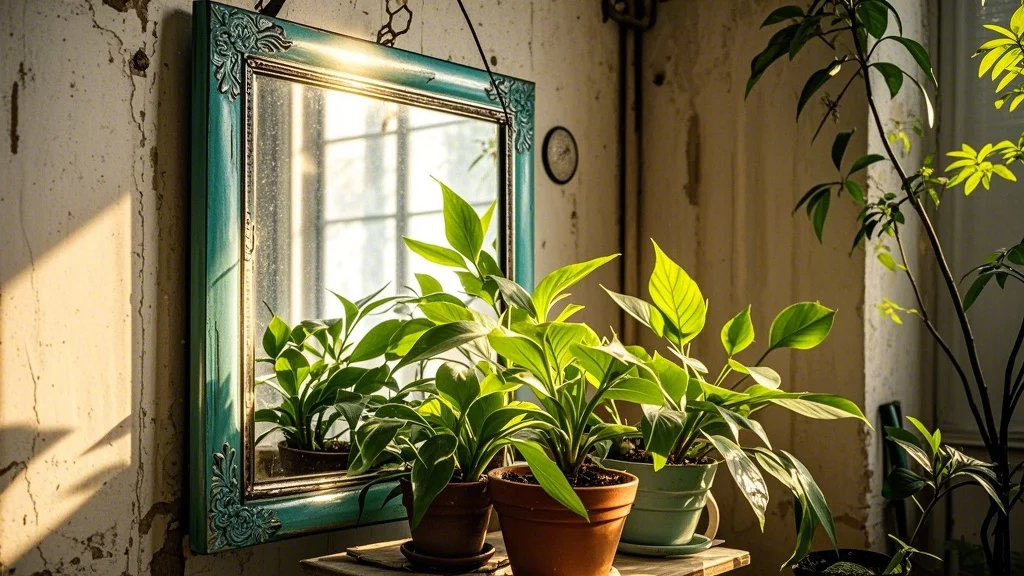
- Position a wall mirror opposite your brightest window to bounce light deeper into the room.
- For maximum effect, angle the mirror slightly downward (5-10 degrees) to direct light toward plant foliage rather than the ceiling.
- For small spaces, place handheld mirrors behind plants that are furthest from windows.
- Create a “light shelf” by placing a mirror horizontally below a plant to reflect light to its undersides.
Helpful Tip: Clean mirrors weekly to maintain maximum reflectivity. Dust and fingerprints can significantly reduce light reflection efficiency.
Step 3: Implement Reflective Backdrops
Detailed Instructions:
- Cut foam board to fit behind plant groupings, creating a reflective backdrop.
- Cover foam board with aluminum foil (shiny side out) or reflective Mylar for enhanced reflection.
- Secure to walls with removable adhesive or create free-standing panels using simple cardboard supports.
- For a more aesthetic approach, paint foam boards with metallic silver or white paint.
Helpful Tip: White foam board alone reflects about 80% of light, while Mylar can reflect up to 95%.
Step 4: Create Reflective Surroundings
Detailed Instructions:
- Line plant trays with reflective material to bounce light upward.
- Place plants on mirrored or white surfaces to maximize light utilization.
- Use white or light-colored pots to reflect light rather than dark pots that absorb it.
- Group plants in a semi-circle arrangement facing the light source to create a natural reflection chamber.
Helpful Tip: Arrange plants with taller species in the back and shorter ones in front to create a stadium effect that allows light to reach all plants.
Step 5: Optimize Window Treatments
Detailed Instructions:
- Replace dark curtains with white or light-colored ones that reflect rather than absorb light.
- Install reflective blinds that can be angled to direct light upward into the room.
- Keep windows clean to maximize light transmission (can increase light by up to 10%).
- Consider applying reflective film to portions of windows that don’t provide direct views but can bounce light to plants.
Helpful Tip: During winter, when the sun is lower in the sky, adjust blinds to capture and redirect this angled light deeper into your space.
Common Challenges and Solutions
Challenge: Uneven Light Distribution
Solution: Rotate plants 1/4 turn weekly to ensure all sides receive reflected light. Use multiple small reflective surfaces rather than one large one to distribute light more evenly.
Challenge: Aesthetically Unappealing Reflective Materials
Solution: Incorporate reflective elements into your decor by using decorative mirrors, metallic picture frames, or stylish mirrored trays. Paint the back of clear glass picture frames with metallic paint for elegant reflectors.
Challenge: Overheating from Excessive Reflection
Solution: Monitor temperatures near reflection points, especially with large mirrors. If a spot becomes too warm, diffuse the reflection by placing sheer curtain material in front of the reflector or adjusting its angle.
Challenge: Different Plant Light Requirements
Solution: Create reflection zones based on plant needs. High-light plants should be placed where they receive both direct and reflected light, while low-light plants can be positioned to receive only gentle reflected light.
Aftercare and Maintenance
Immediate Care:
- Monitor plants daily for the first week after implementing reflection techniques.
- Watch for signs of light stress such as leaf scorching or color bleaching, which indicate too much reflected light.
- Be prepared to water more frequently, as increased light may accelerate evaporation and plant metabolism.
Long-term Maintenance:
- Clean reflective surfaces weekly to maintain maximum efficiency.
- Adjust reflector positions seasonally as the sun’s path changes.
- Reassess light levels quarterly using your light meter to ensure your system remains effective.
- Replace deteriorating reflective materials as needed (Mylar and aluminum foil may become less effective over time).
Signs of Success:
- New growth appears more compact rather than stretched or leggy
- Leaf size is appropriate for the plant species (not unusually small)
- Variegated plants maintain clear color patterns rather than reverting to solid green
- Flowering plants produce buds and blooms
- Overall plant posture is upright and sturdy rather than leaning toward light sources
Frequently Asked Questions
Q: Can too much reflected light harm my plants?
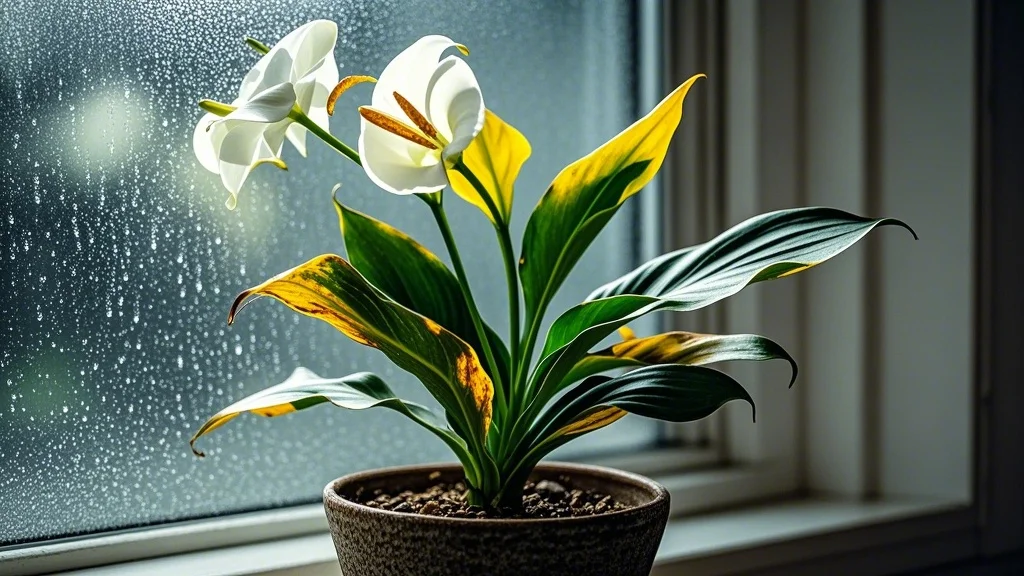
A: Yes, while rare with indoor reflection setups, it’s possible. Signs of excessive light include bleached or yellow leaves, brown spots, or curling foliage. If you notice these symptoms, reduce reflection by removing some reflective surfaces or diffusing the light with sheer curtains.
Q: How do I know if my reflection techniques are actually working?
A: The most scientific approach is to measure light levels before and after with a light meter. Visually, watch for more compact growth, improved leaf color, and plants that grow straight up rather than leaning toward light sources. Take “before” photos to compare with results after 3-4 weeks.
Q: Will these techniques work for growing vegetables and herbs indoors?
A: Reflection techniques can help, but most edible plants require more intense light than ornamental houseplants. For herbs like basil, mint, and chives, reflection might provide enough supplemental light. For fruiting plants like tomatoes or peppers, you’ll likely need to combine reflection with grow lights for successful harvests.
Q: How do I incorporate reflective elements without making my home look like a grow operation?
A: Focus on decorative reflective items like stylish mirrors, metallic picture frames, mirrored trays, and white decorative elements. Position these strategically to maximize reflection while maintaining your aesthetic. Consider reflective materials that serve dual purposes, such as metallic planters or mirrored furniture pieces.
Q: Do these techniques work in basement apartments with minimal windows?
A: Reflection techniques work best when there’s at least some natural light to amplify. In extremely low-light situations like basements, reflection can help maximize what little light exists, but you’ll likely need to supplement with grow lights for most plant species. Focus reflection efforts near your limited window space to extend the reach of available natural light.
Conclusion
Maximizing natural light through reflection techniques offers an accessible, cost-effective solution for urban gardeners struggling with low-light conditions. By strategically placing mirrors, creating reflective backdrops, and optimizing your plant environment, you can significantly increase the available light for your indoor garden without major investments or permanent modifications to your living space.
Remember these key steps:
- Analyze your existing light patterns
- Position mirrors strategically to bounce light deeper into your space
- Create reflective backdrops behind plant groupings
- Use reflective surfaces below and around plants
- Optimize window treatments to maximize light transmission
Start with one or two techniques and observe the results before implementing more complex setups. Even modest improvements in light levels can make a significant difference in plant health and growth. With these reflection strategies, you can transform challenging low-light corners into thriving plant habitats and expand your indoor gardening possibilities.
Your plants will reward your efforts with more vibrant growth, better color, and potentially even blooms that you might not have thought possible in your space. Happy reflecting!

