Overwatering is one of the most common and potentially devastating problems faced by plant owners. While it’s easy to assume that more water equals healthier plants, excessive moisture can lead to root rot, nutrient deficiencies, and even plant death. This comprehensive guide will walk you through the process of identifying, treating, and reviving overwatered plants, ensuring your green companions return to their vibrant, healthy state.
Contents
- 1 Identifying an Overwatered Plant
- 2 Step-by-Step Rescue Guide
- 2.1 1. Stop Watering Immediately
- 2.2 2. Improve Drainage
- 2.3 3. Move the Plant to a Suitable Location
- 2.4 4. Remove Excess Water
- 2.5 5. Assess Root Health
- 2.6 6. Trim Damaged Roots
- 2.7 7. Prune Affected Foliage
- 2.8 8. Repot in Fresh, Well-Draining Soil
- 2.9 9. Adjust Watering Habits
- 2.10 10. Monitor and Provide Aftercare
- 3 Preventing Future Overwatering
- 4 Common Mistakes to Avoid
- 5 When to Seek Professional Help
- 6 Conclusion
Identifying an Overwatered Plant
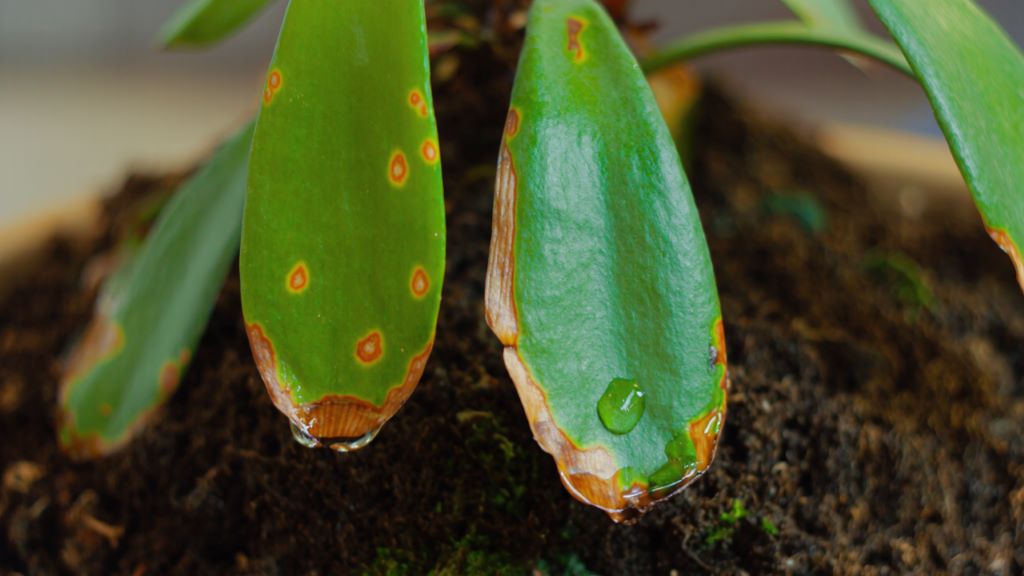
Before diving into the rescue process, it’s crucial to confirm that overwatering is indeed the issue. Here are some telltale signs:
-
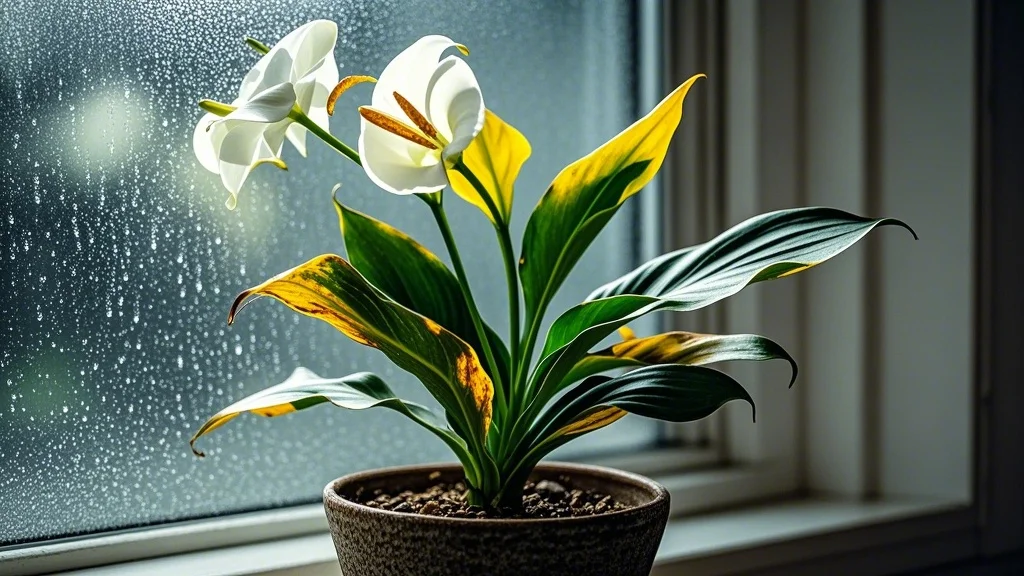
Yellowing leaves: Especially lower leaves, often accompanied by brown spots.
-
Wilting: Despite wet soil, the plant appears droopy and lifeless.
-
Edema: Blisters or lesions on leaves caused by cells bursting from excess water uptake.
-
Falling leaves: Both new and old leaves may drop prematurely.
-
Soft, mushy stems: Particularly near the base of the plant.
-
Mold or algae: Growth on the soil surface or around the plant base.
-
Foul odor: A smell of decay emanating from the soil.
-
Stunted growth: The plant fails to produce new leaves or shows slow growth.
If you observe several of these symptoms, it’s time to take action and save your overwatered plant.
Step-by-Step Rescue Guide
1. Stop Watering Immediately
The first and most crucial step is to halt all watering. Allow the plant to begin drying out naturally. This might feel counterintuitive, especially if the plant looks wilted, but it’s essential for recovery.
2. Improve Drainage
Poor drainage is often a contributing factor to overwatering. Take these steps to enhance water flow:
-
Check the pot: Ensure it has adequate drainage holes.
-
Clear blockages: Remove any debris clogging the drainage holes.
-
Elevate the pot: Use pot feet or a saucer with pebbles to prevent water from pooling at the base.
3. Move the Plant to a Suitable Location
Relocate the plant to an area with:
-
Bright, indirect light: This helps the soil dry faster and promotes photosynthesis.
-
Good air circulation: Improves evaporation and reduces the risk of fungal growth.
-
Moderate temperature: Avoid extreme heat or cold, which can further stress the plant.
4. Remove Excess Water
If water is standing in the saucer or pot, take immediate action:
-
Empty the saucer: Pour out any collected water.
-
Tilt the pot: Gently tilt the pot to drain excess water from the soil.
-
Use paper towels: For small pots, you can press paper towels onto the soil surface to absorb excess moisture.
5. Assess Root Health
Carefully remove the plant from its pot to examine the roots:
-
Healthy roots: White or light-colored, firm, and pliable.
-
Rotted roots: Brown or black, soft, mushy, and often have a foul odor.
6. Trim Damaged Roots
If you find rotted roots, take these steps:
-
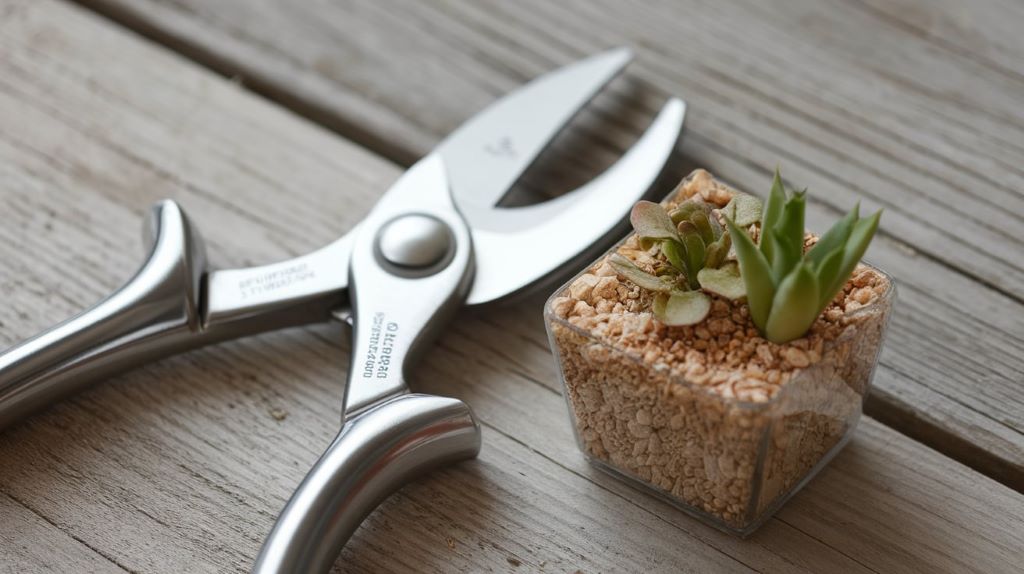
Sterilize pruning shears: Use rubbing alcohol or a diluted bleach solution.
-
Remove rotted sections: Cut away any soft, discolored roots.
-
Trim back to healthy tissue: Make clean cuts just above the damaged areas.
-
Apply fungicide: Use a garden fungicide to prevent further rot.
7. Prune Affected Foliage
Remove damaged leaves and stems to redirect the plant’s energy to recovery:
- Cut off yellowed or wilted leaves at the base of the stem.
- Trim any soft, mushy stems back to healthy tissue.
- Remove any flowers or buds to reduce the plant’s energy expenditure.
8. Repot in Fresh, Well-Draining Soil
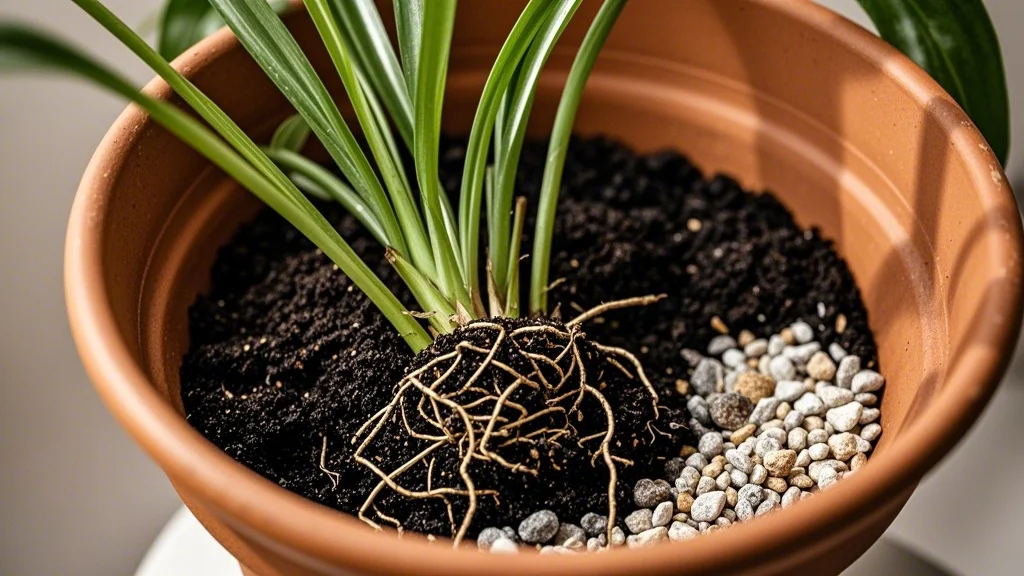
Prepare a new pot or clean the existing one thoroughly:
-
Choose the right pot size: Select a container that’s just large enough to accommodate the remaining healthy roots.
-
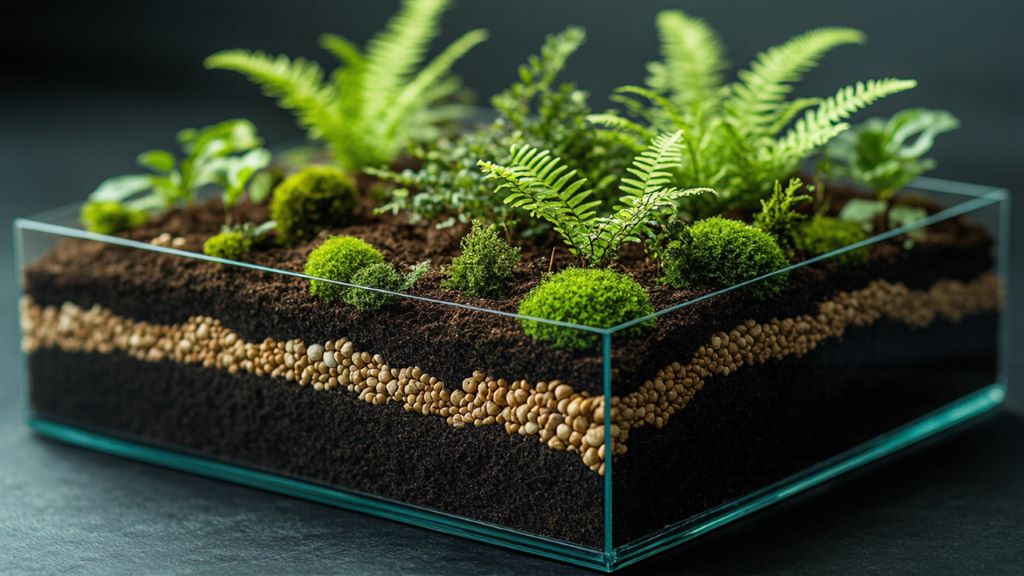
Use fresh potting mix: Opt for a well-draining soil blend appropriate for your plant species.
-
Add drainage materials: Place a layer of pebbles or broken pottery at the bottom of the pot.
-
Replant carefully: Gently spread out the roots and cover with soil, avoiding compaction.
9. Adjust Watering Habits
Develop a proper watering routine to prevent future overwatering:
-
Check soil moisture: Use your finger or a moisture meter to test before watering.
-
Water deeply but less frequently: This encourages deeper root growth.
-
Consider the plant’s needs: Research your specific plant species’ water requirements.
-
Account for environmental factors: Adjust watering based on humidity, temperature, and season.
10. Monitor and Provide Aftercare
Keep a close eye on your plant during the recovery period:
-
Observe daily: Look for signs of improvement or further decline.
-
Avoid fertilizing: Wait until the plant shows new growth before feeding.
-
Maintain humidity: If appropriate for your plant, use a pebble tray or humidifier.
-
Be patient: Recovery can take weeks or even months, depending on the severity of the damage.
Preventing Future Overwatering
To avoid repeating the overwatering cycle, implement these preventive measures:
-
Understand your plant: Research its specific water needs and growth habits.
-
Use well-draining pots: Ensure all containers have adequate drainage holes.
-
Choose appropriate soil: Use potting mixes designed for your plant type.
-
Water on a schedule: Develop a consistent routine, but always check soil moisture first.
-
Bottom water: This technique encourages roots to grow downward and prevents oversaturation.
-
Adjust for seasons: Reduce watering frequency during dormant periods.
-
Use the right tools: Invest in a moisture meter or self-watering pots for consistent moisture levels.
-
Consider plant grouping: Place plants with similar water needs together.
Common Mistakes to Avoid
When rescuing an overwatered plant, be wary of these pitfalls:
-
Overcompensating with drought: Don’t let the soil become bone dry after overwatering.
-
Fertilizing too soon: This can stress the already weakened roots.
-
Repotting unnecessarily: If root rot isn’t present, sometimes adjusting care is enough.
-
Ignoring environmental factors: Consider light, temperature, and humidity in your recovery plan.
-
Rushing the process: Recovery takes time; avoid hasty actions that could further stress the plant.
When to Seek Professional Help
Sometimes, despite your best efforts, a plant may not recover. Consider consulting a professional horticulturist or visiting a local nursery if:
- The plant shows no signs of improvement after several weeks.
- You’re dealing with a rare or particularly valuable specimen.
- The overwatering has led to a pest infestation or disease spread.
- You’re unsure about proper care techniques for your specific plant species.
Conclusion
Reviving an overwatered plant requires patience, care, and attention to detail. By following this step-by-step guide, you can save many plants from the brink of death and restore them to health. Remember, prevention is always better than cure. Develop a keen eye for your plants’ needs, and you’ll be rewarded with lush, thriving greenery that brings life and beauty to your urban space.
With the right knowledge and techniques, you can transform from an accidental plant overwaterer to a confident, successful indoor gardener. Your rescued plants will not only survive but flourish, becoming a testament to your improved plant care skills and dedication to urban gardening.

